
IPvivo
Connect an IPnivo Static Residential Proxy to a CosLogin profile using SOCKS5. Get your proxy details first, then add them to the profile and check the connection before browsing.
Step 1: Get an IPnivo Static Residential Proxy
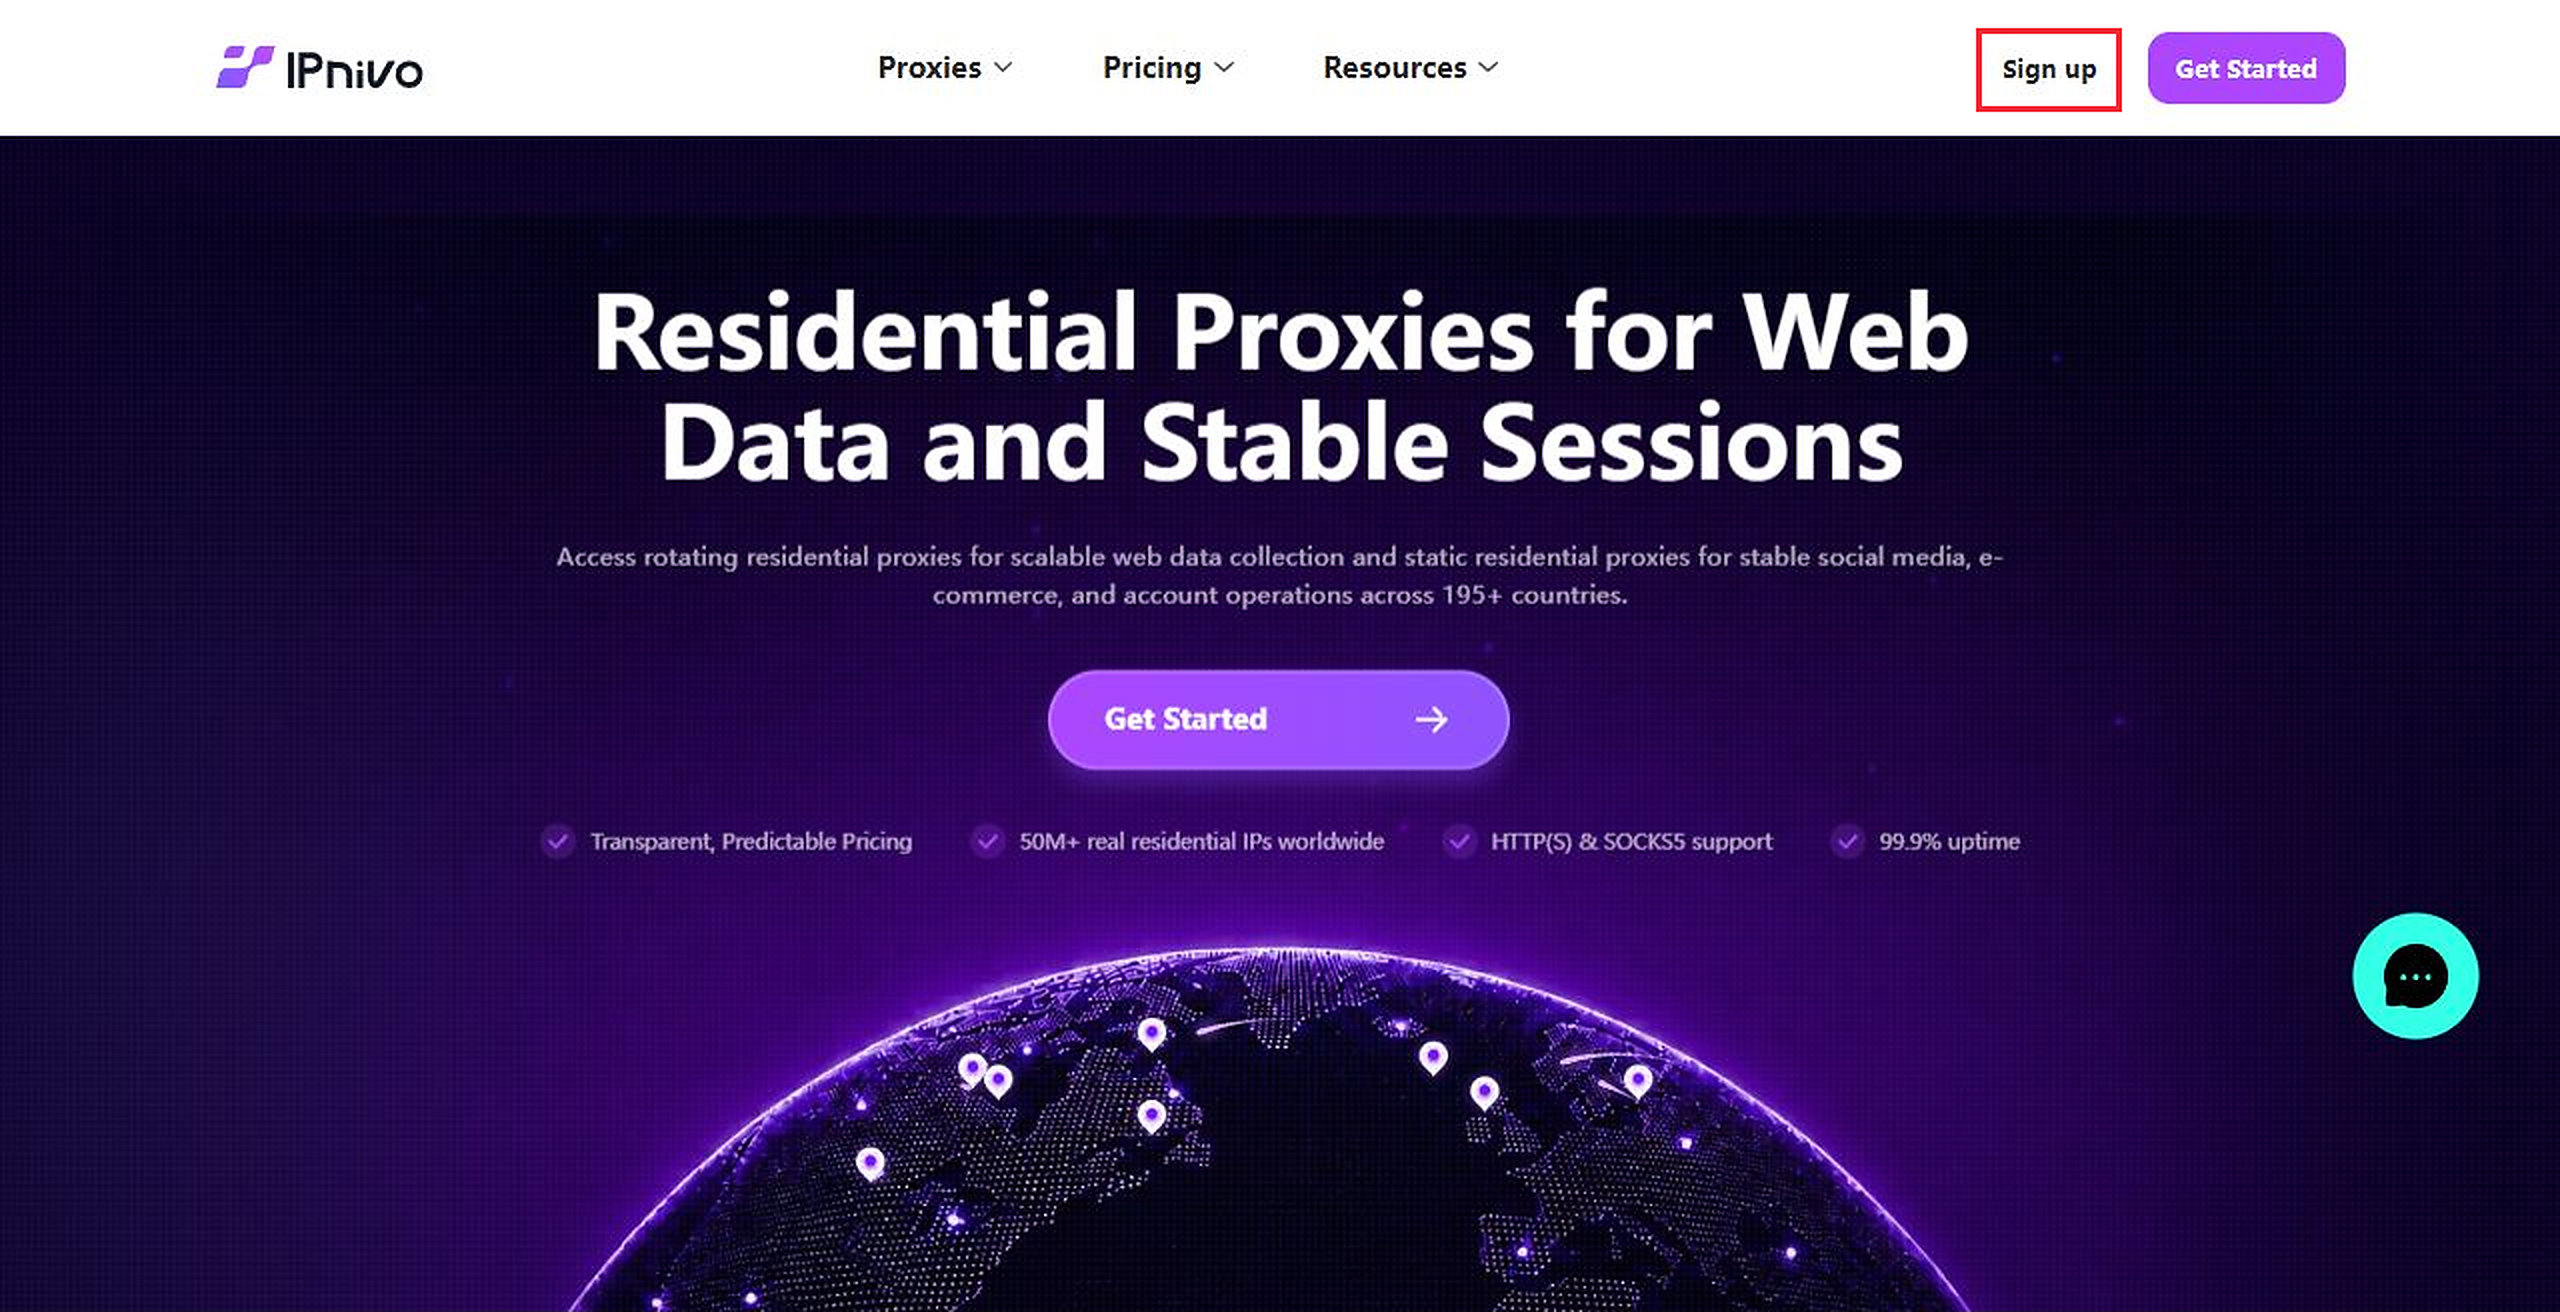
- Visit the IPnivo website and click Sign up to create an account, or log in if you already have one.
- Open ISP Proxies and select Buy ISP Proxies. Choose the location, proxy type and quantity you need. Review the current plans and prices before placing an order. If you already have an active proxy, continue to the next step.
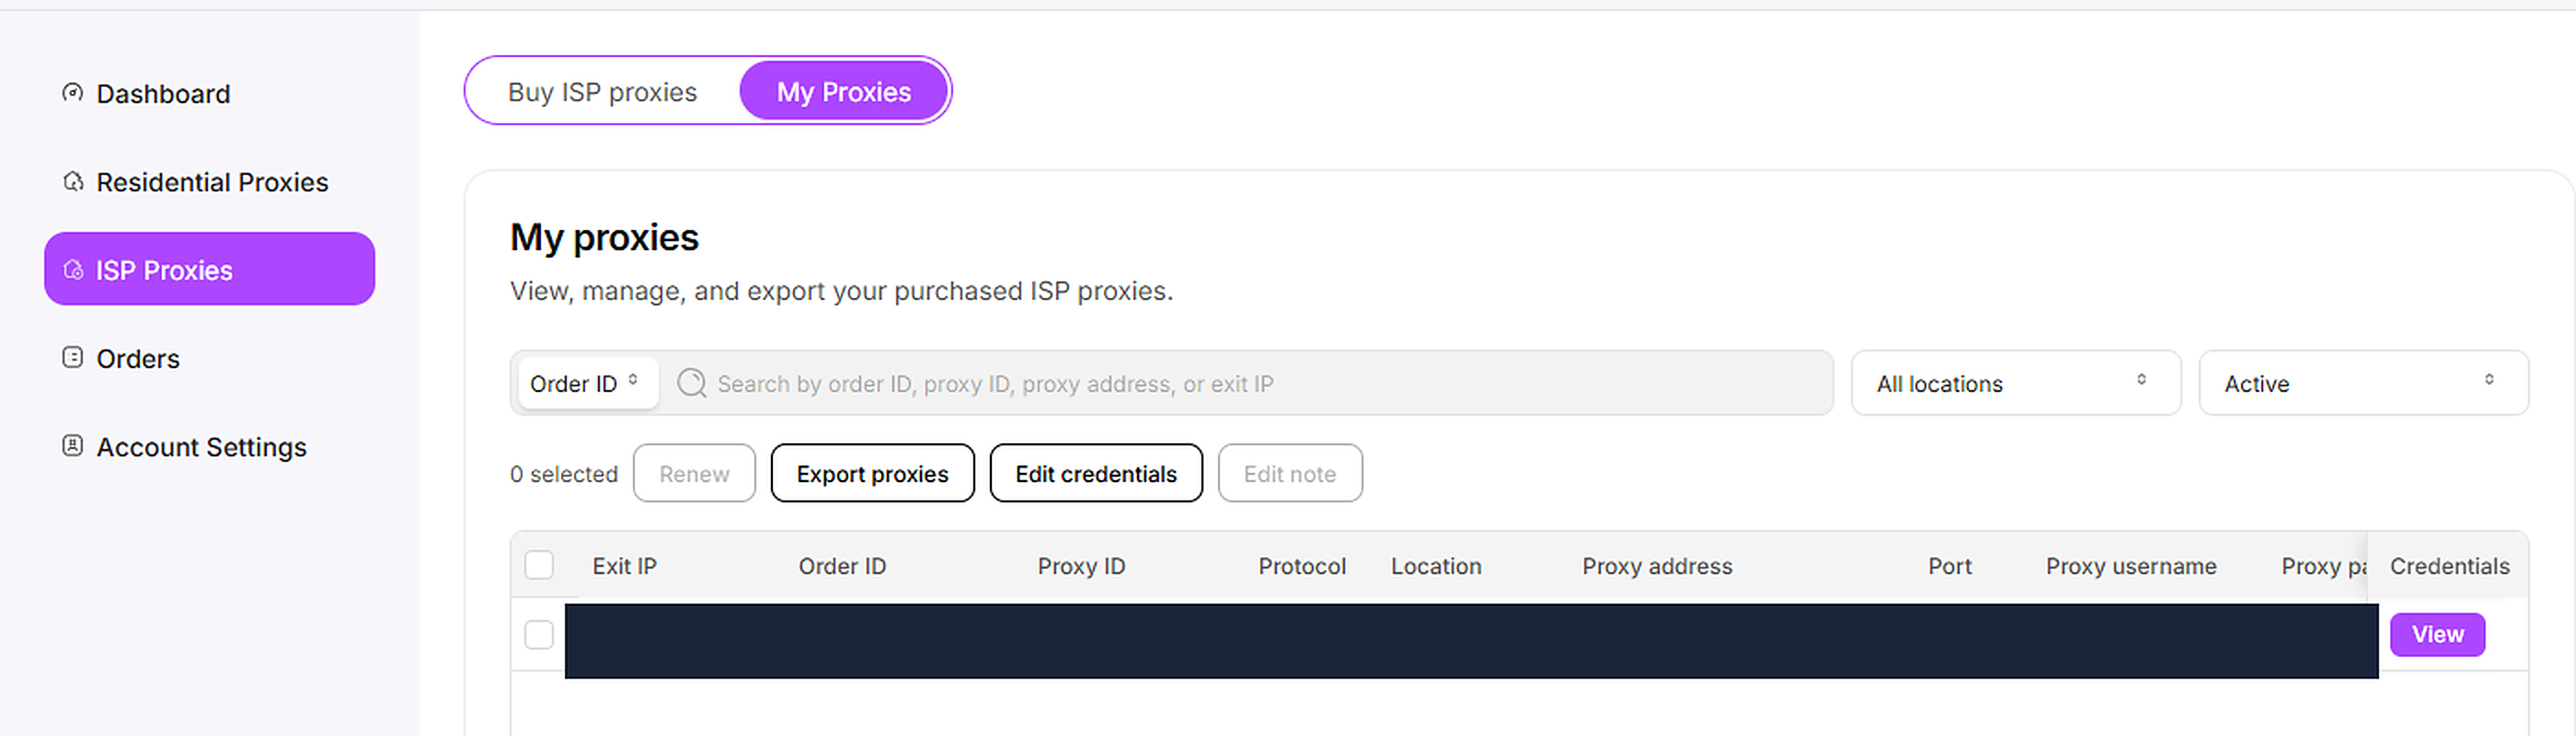
- Open My Proxies and find your proxy. Click View to open its connection details.
- In Proxy details, copy the proxy address, port, proxy username and proxy password. Confirm that the connection supports SOCKS5.
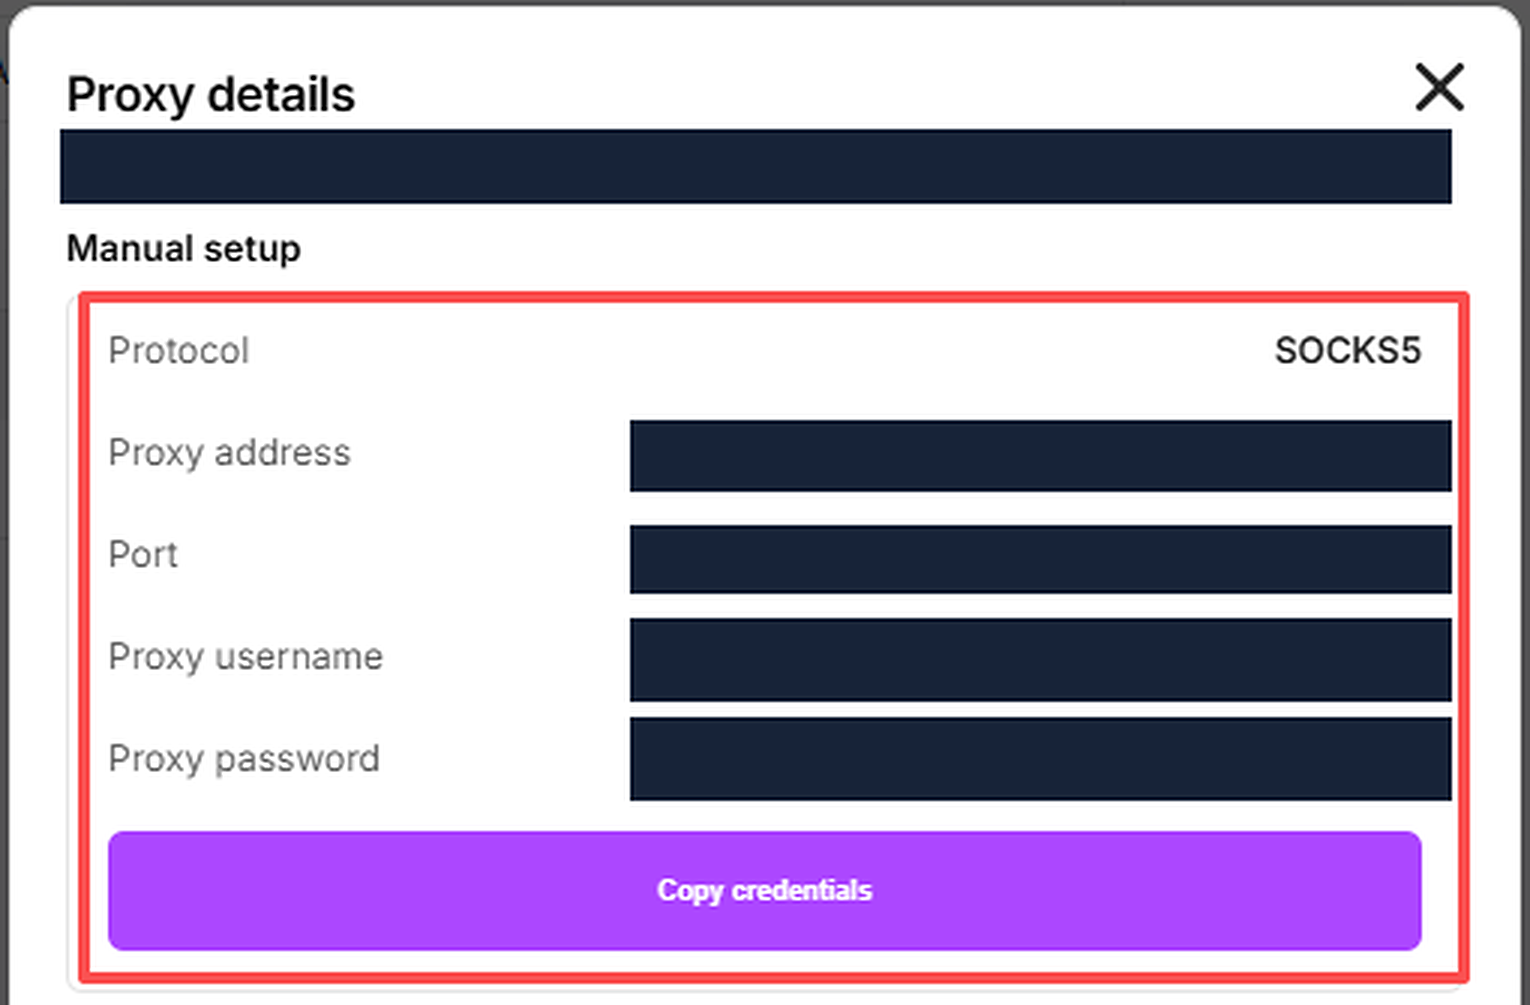
Use the proxy username and password from this page. They are separate from your IPnivo and CosLogin account logins. Copy each value in full, including any username suffix, and remove extra spaces.
Step 2: Install and Configure CosLogin
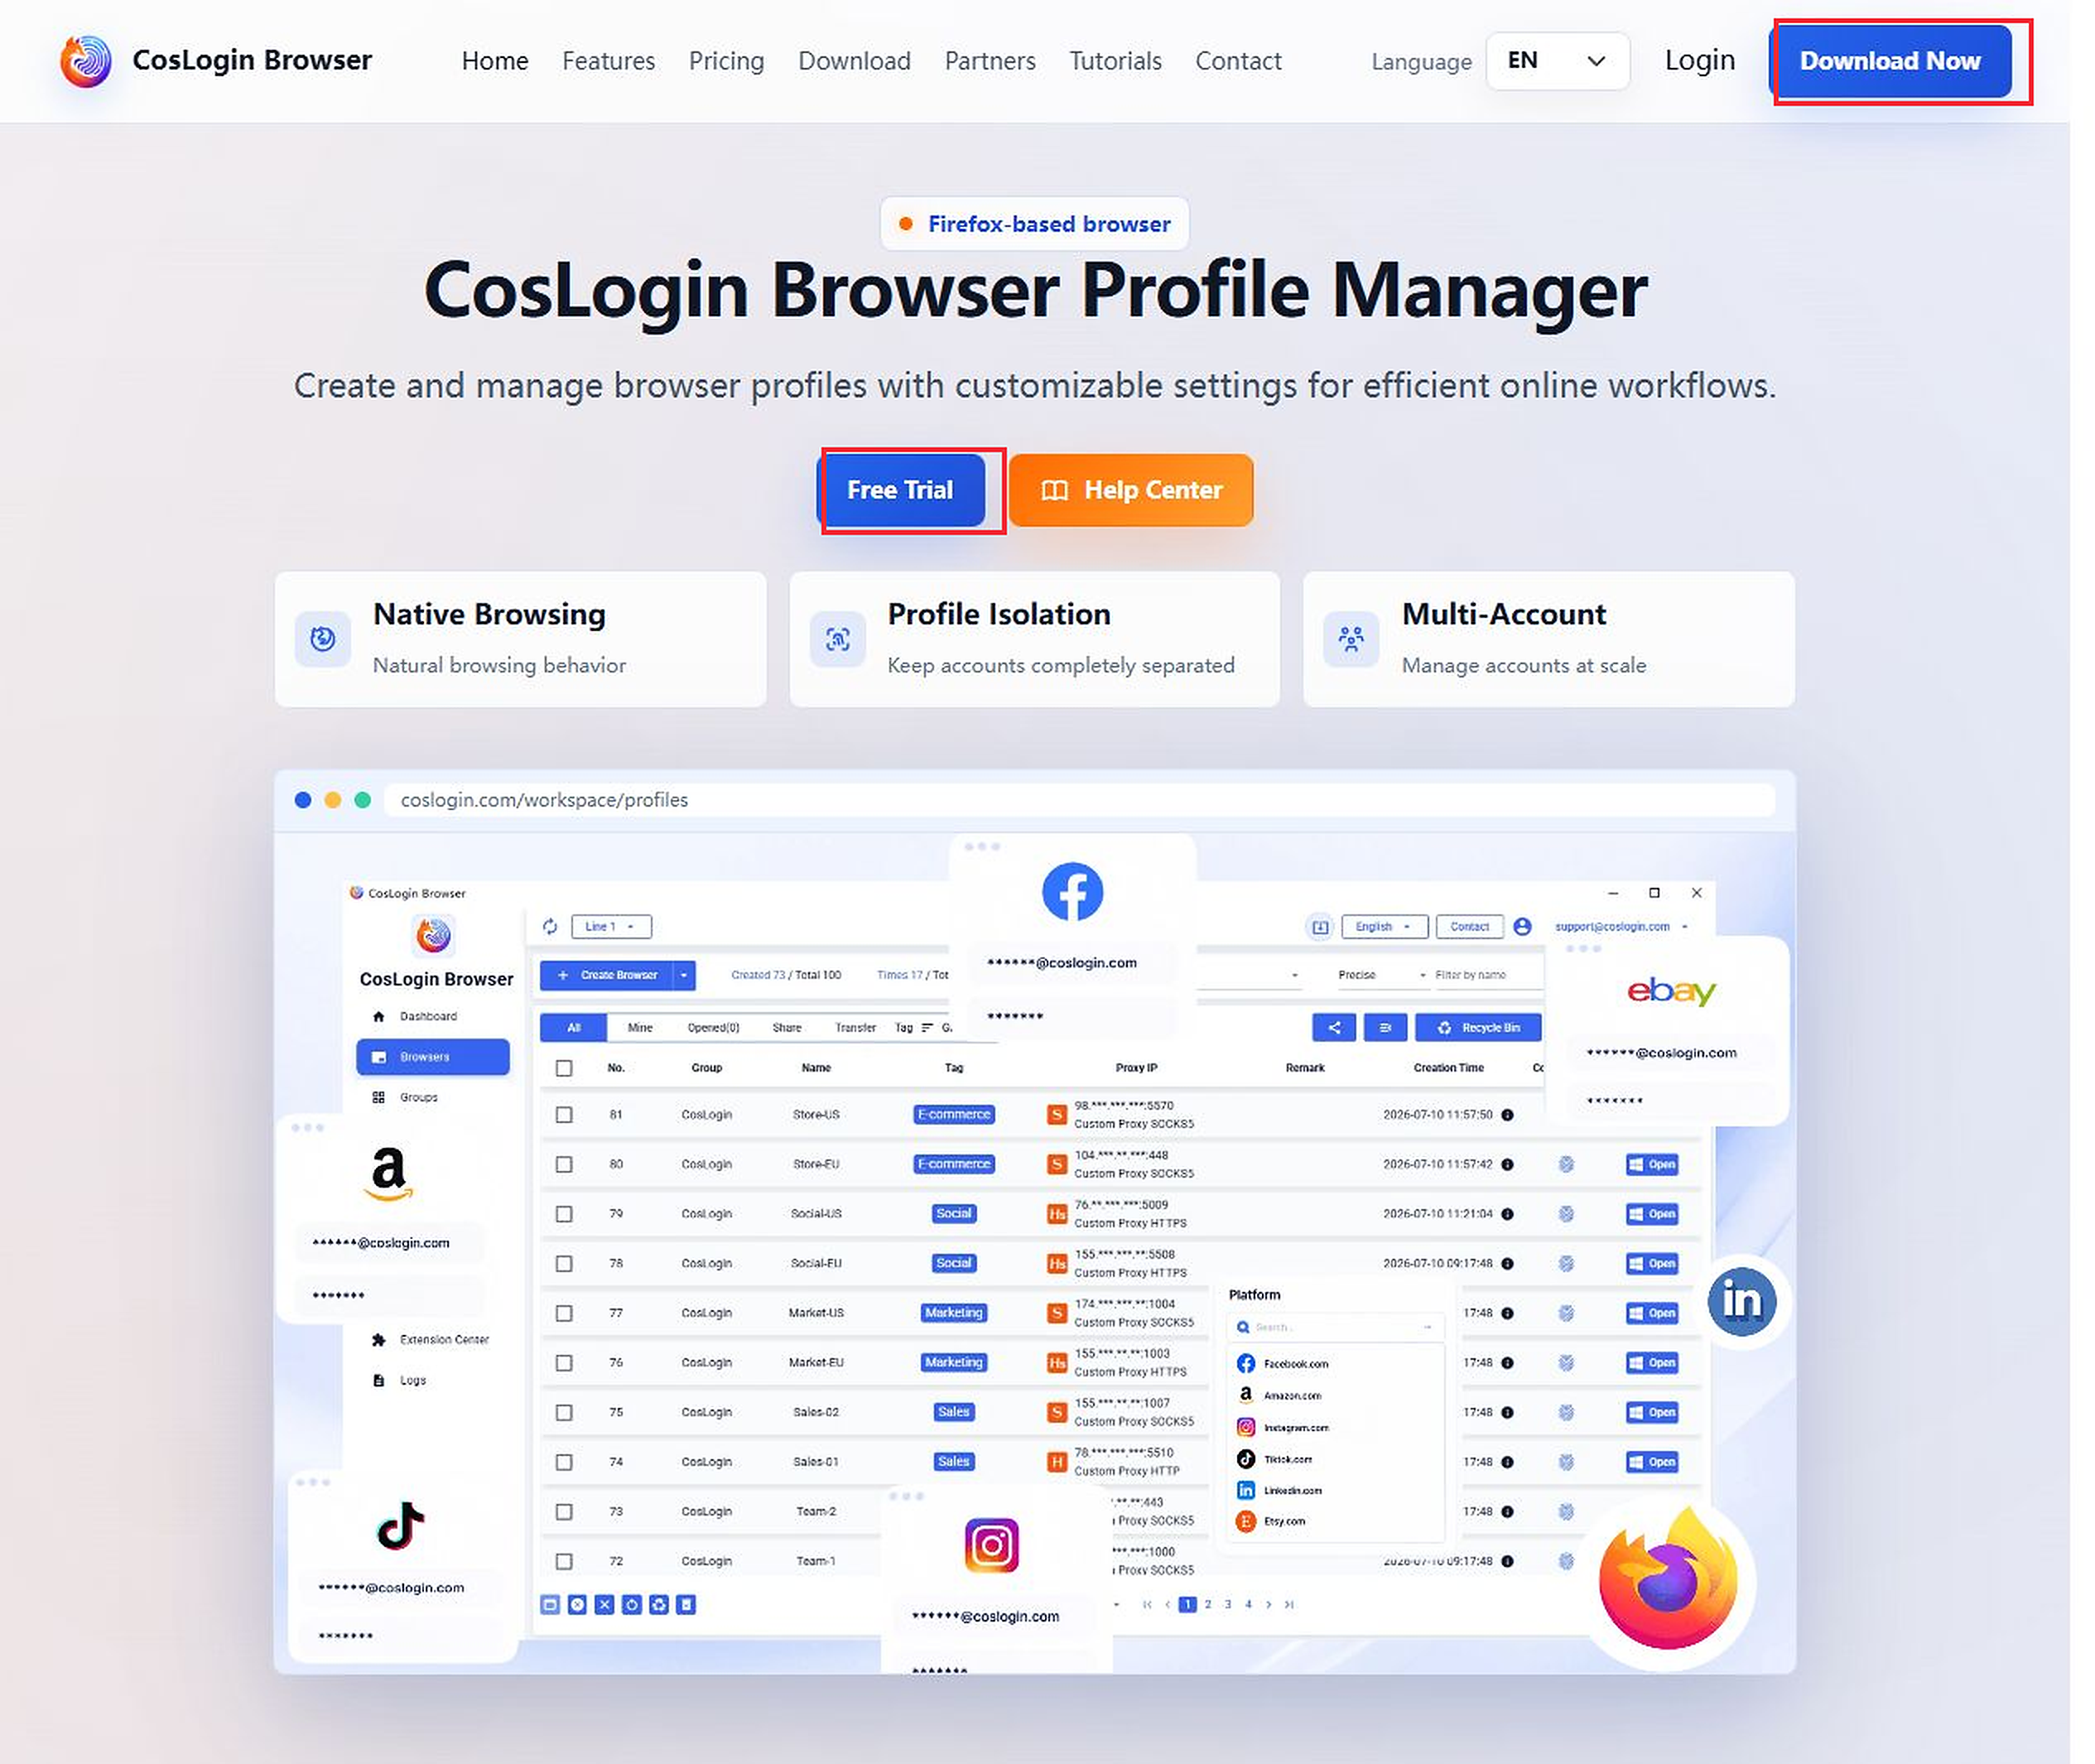
- Download and install CosLogin Browser, then sign up and log in to your account. (Sign up to get started for free.)
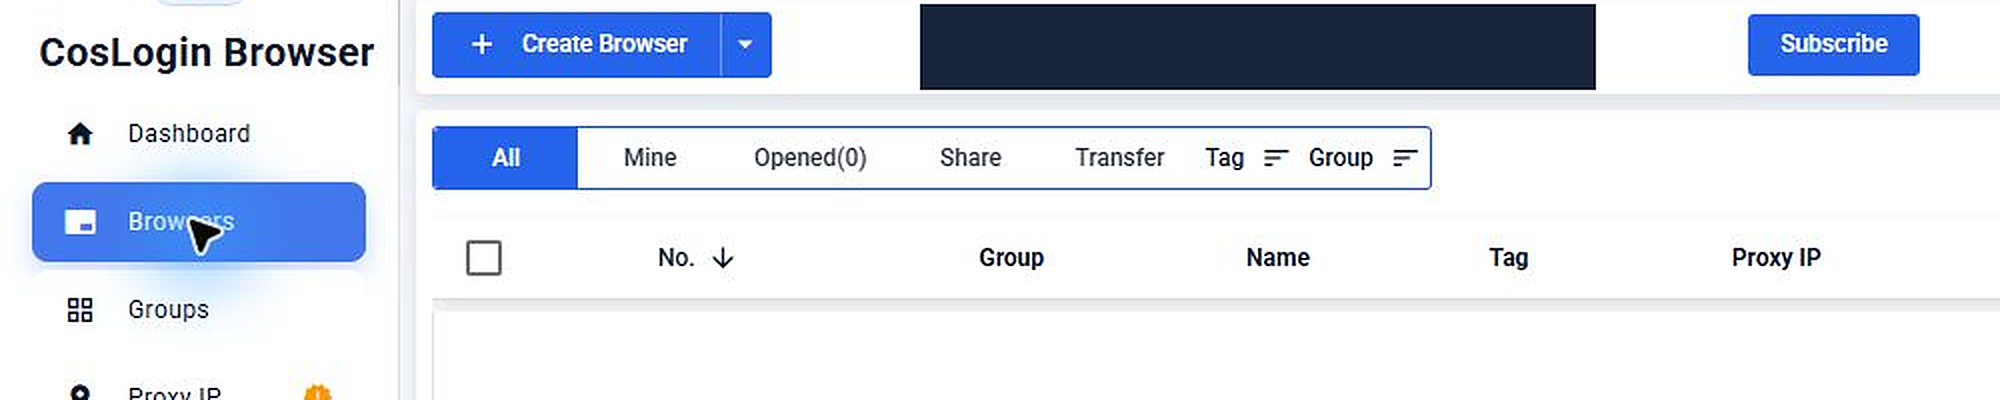
- Go to Browsers in the left sidebar and click Create Browser.
- In Basic, enter a Name you will recognize in the browser list. Add a Group or Tag if you use them to organize profiles.
- Scroll to Proxy and select Custom Proxy under Method. Set Type to SOCKS5. Under Protocol, choose IPv4 or IPv6 to match your proxy. Keep the current Lookup Channel setting unless your setup requires a change.
- Enter the four IPnivo connection values in their matching fields:
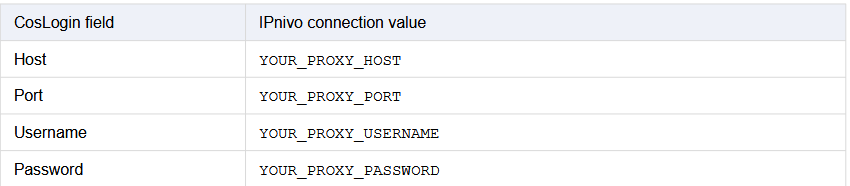
Replace the placeholders with your own proxy details. The private values in the screenshots are fully redacted.
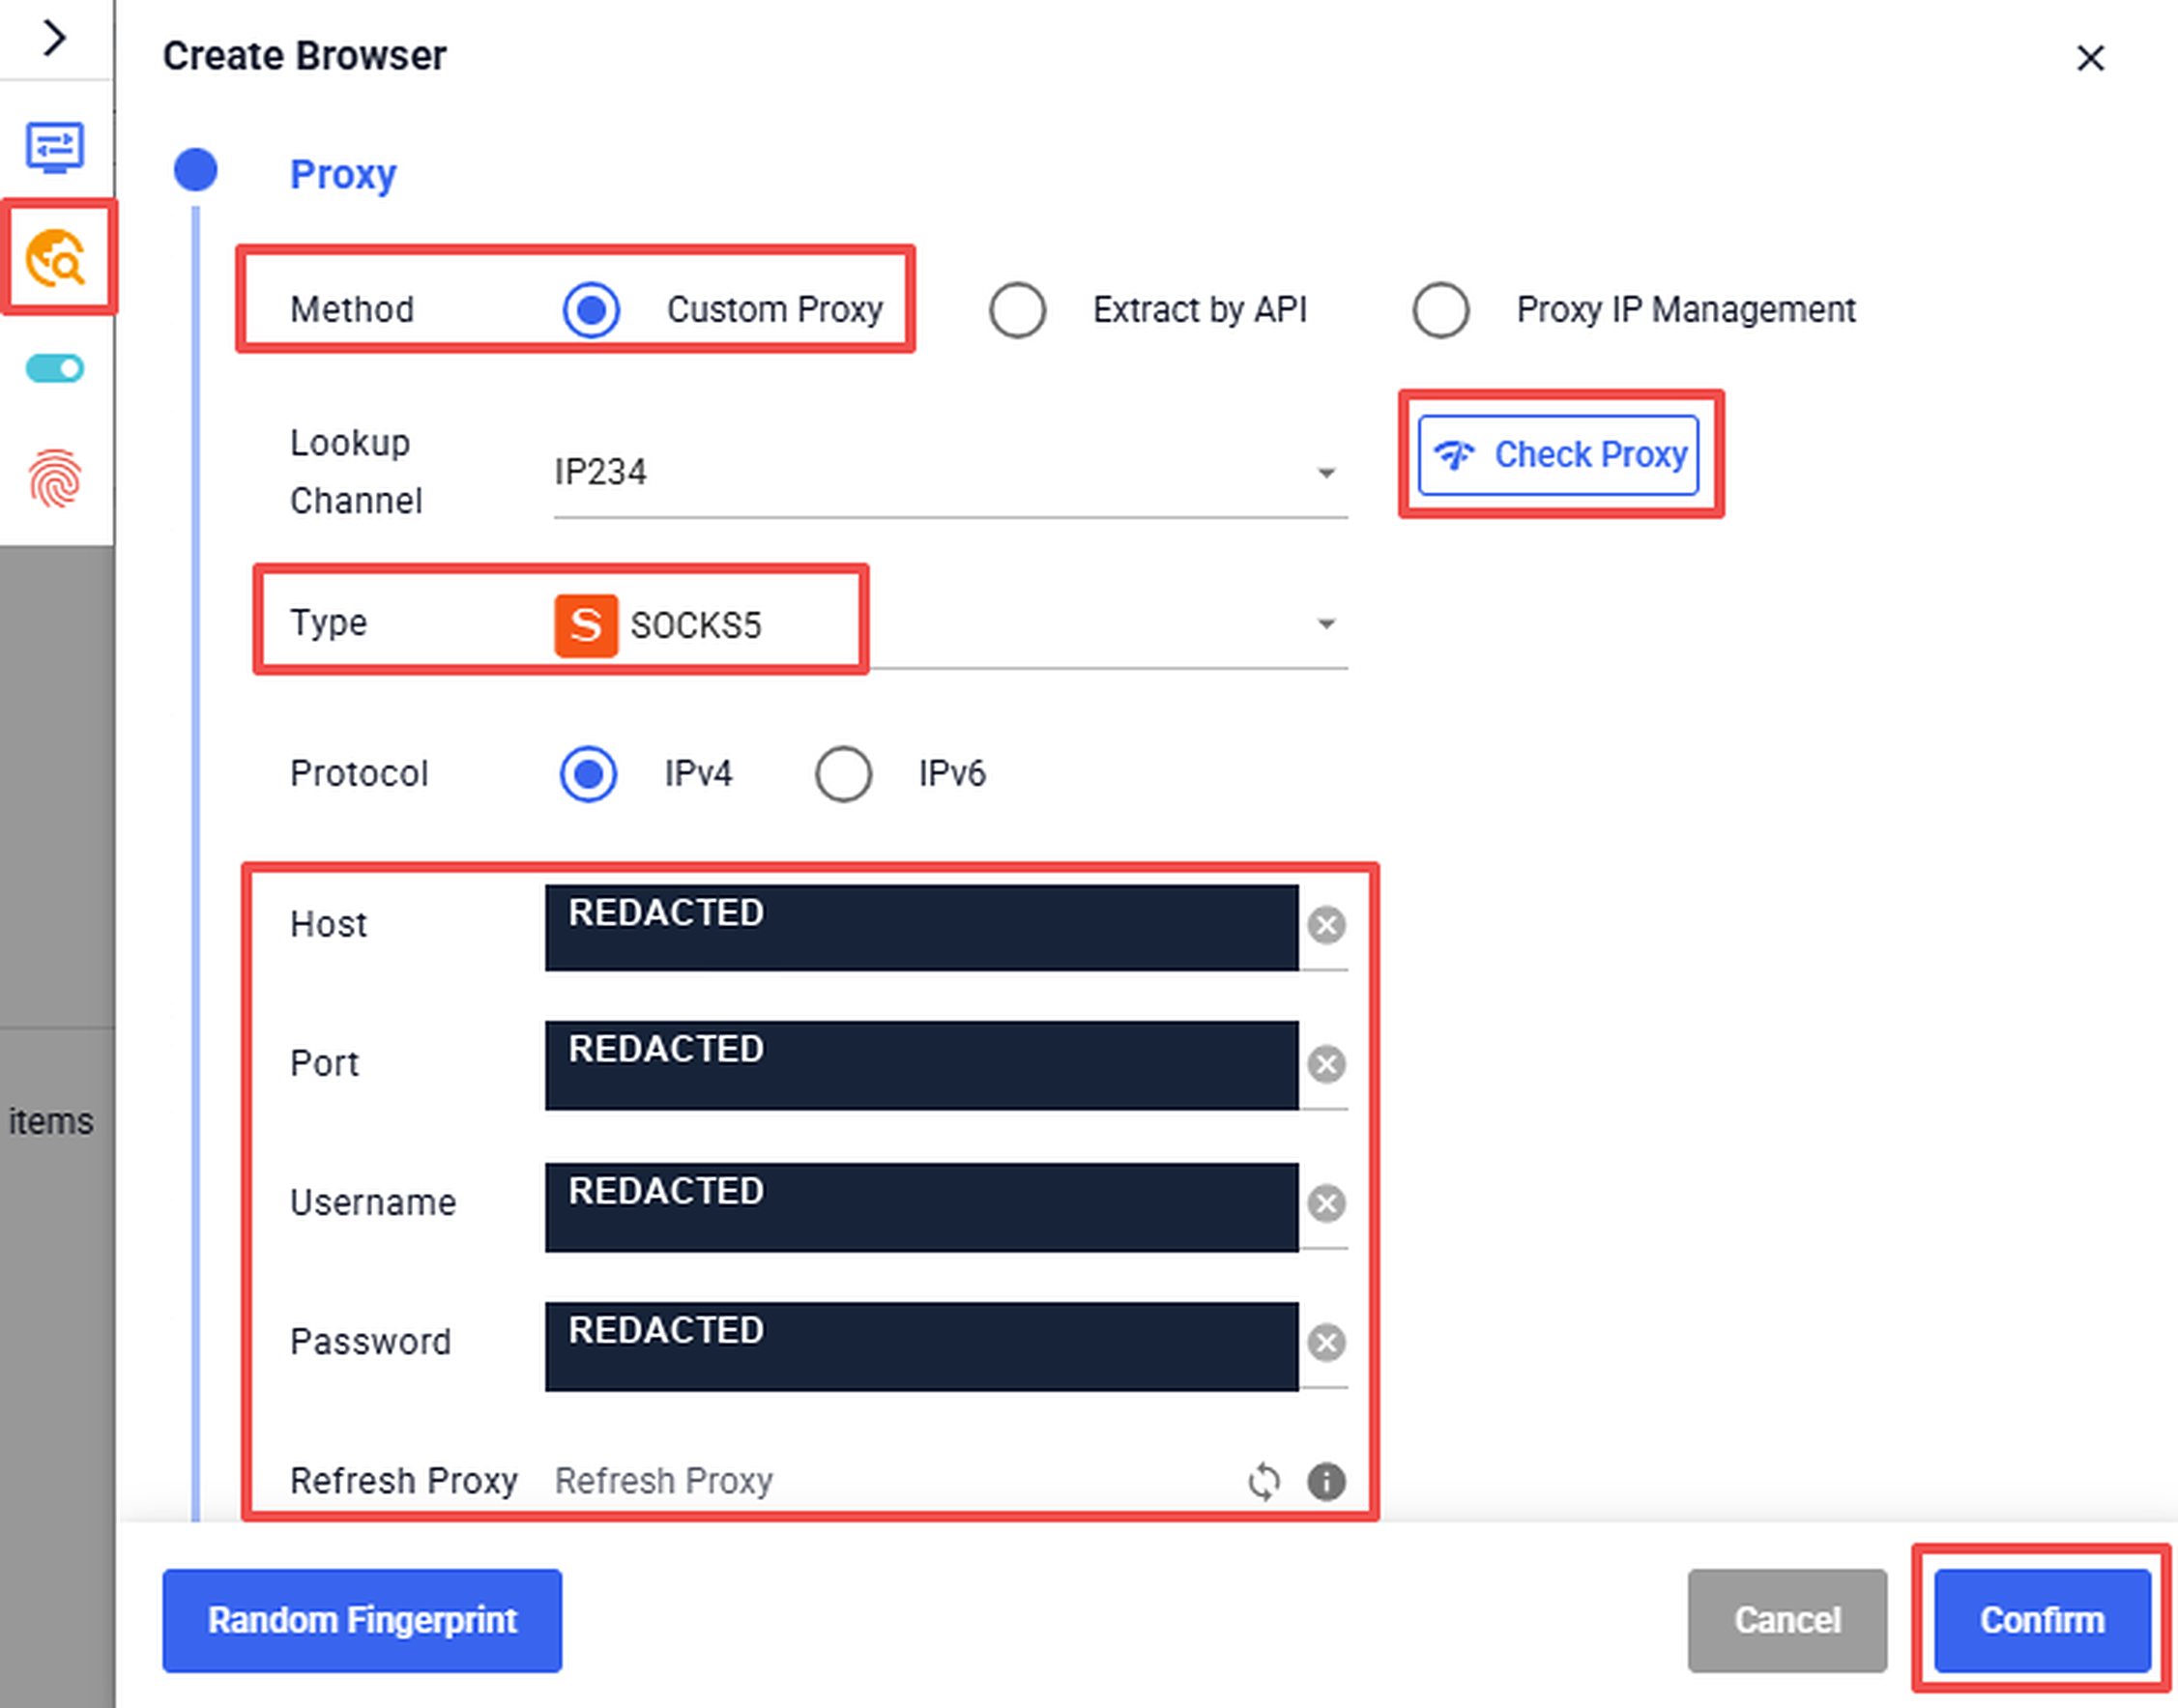
- Click Check Proxy and read the result. If it fails, recheck the host, port and full proxy credentials before continuing. Click Confirm to save the profile once you have checked the settings.
Step 3: Open the Browser Profile
Return to Browsers and click Open on the profile you saved. If you added the proxy separately through Proxy IP, assign it to the profile before opening it.

Inside that browser, visit an IP-check page you trust. Compare the public IP with the expected proxy IP. If they differ, reopen the profile settings and check the proxy assignment. Check Proxy and an IP check do not establish overall performance or complete leak protection.