
IPNut Settings
Part 1: IPNut Proxy Setup
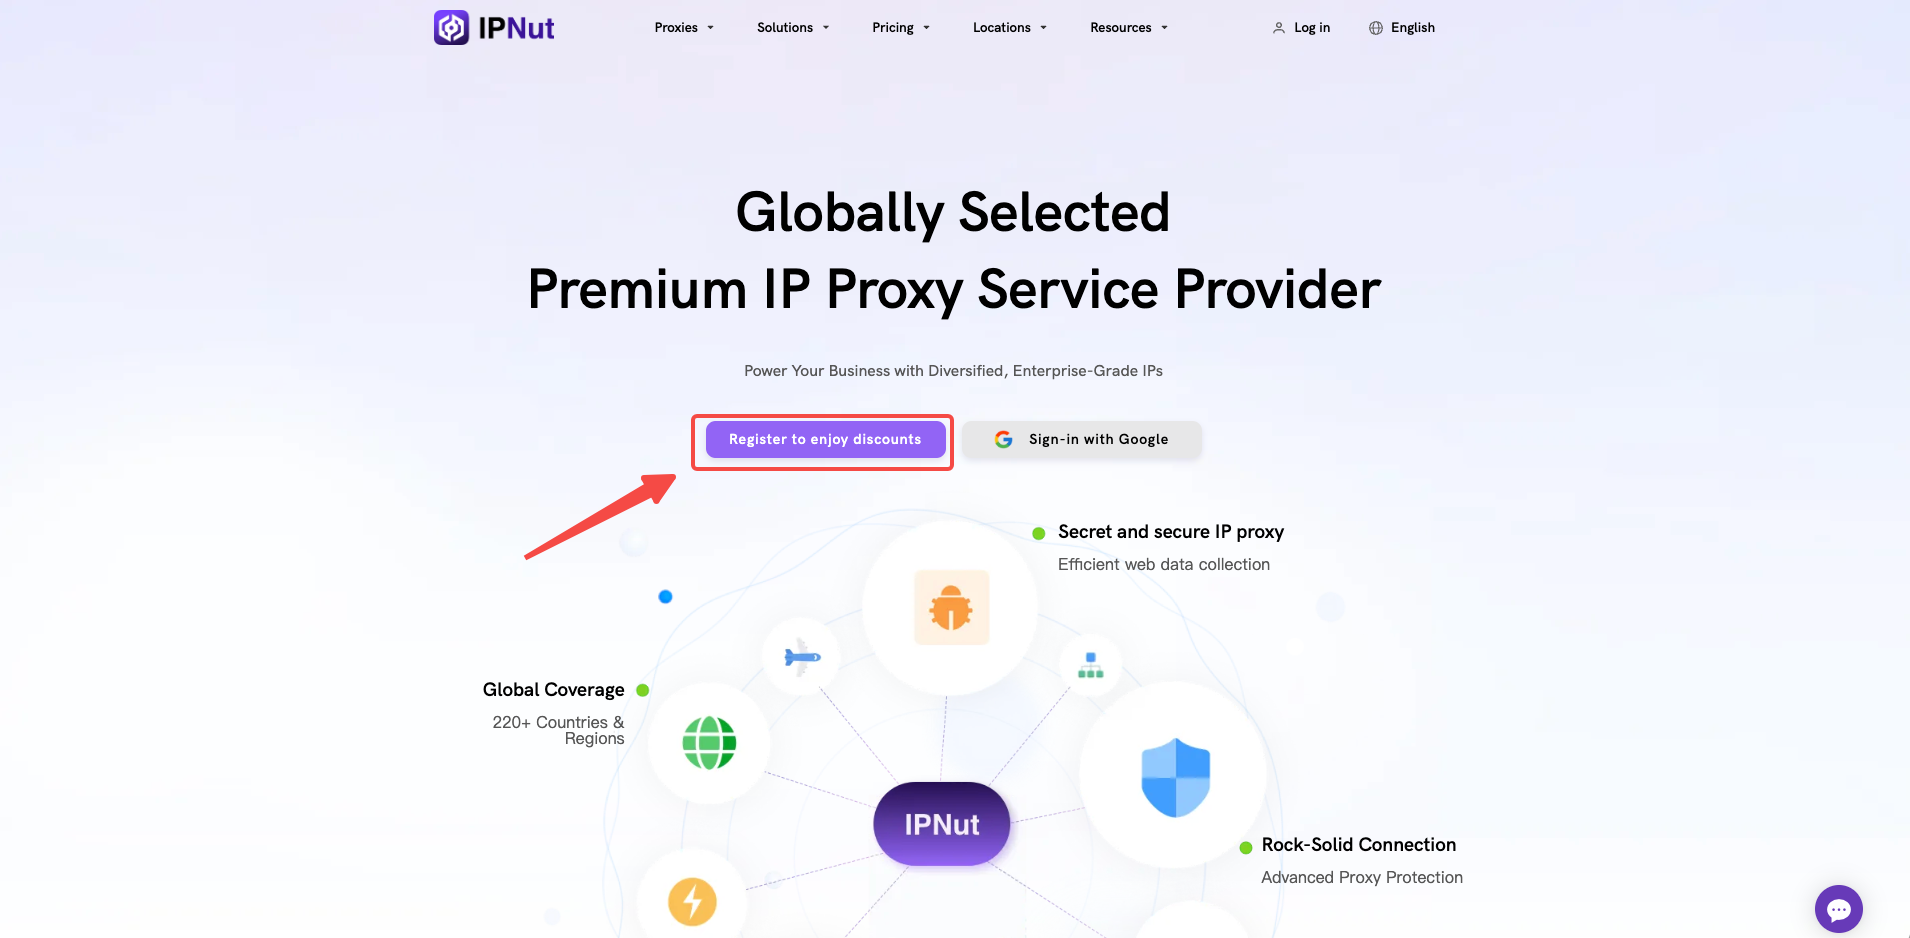
- Visit the [IPNut website] to register an account and log in.
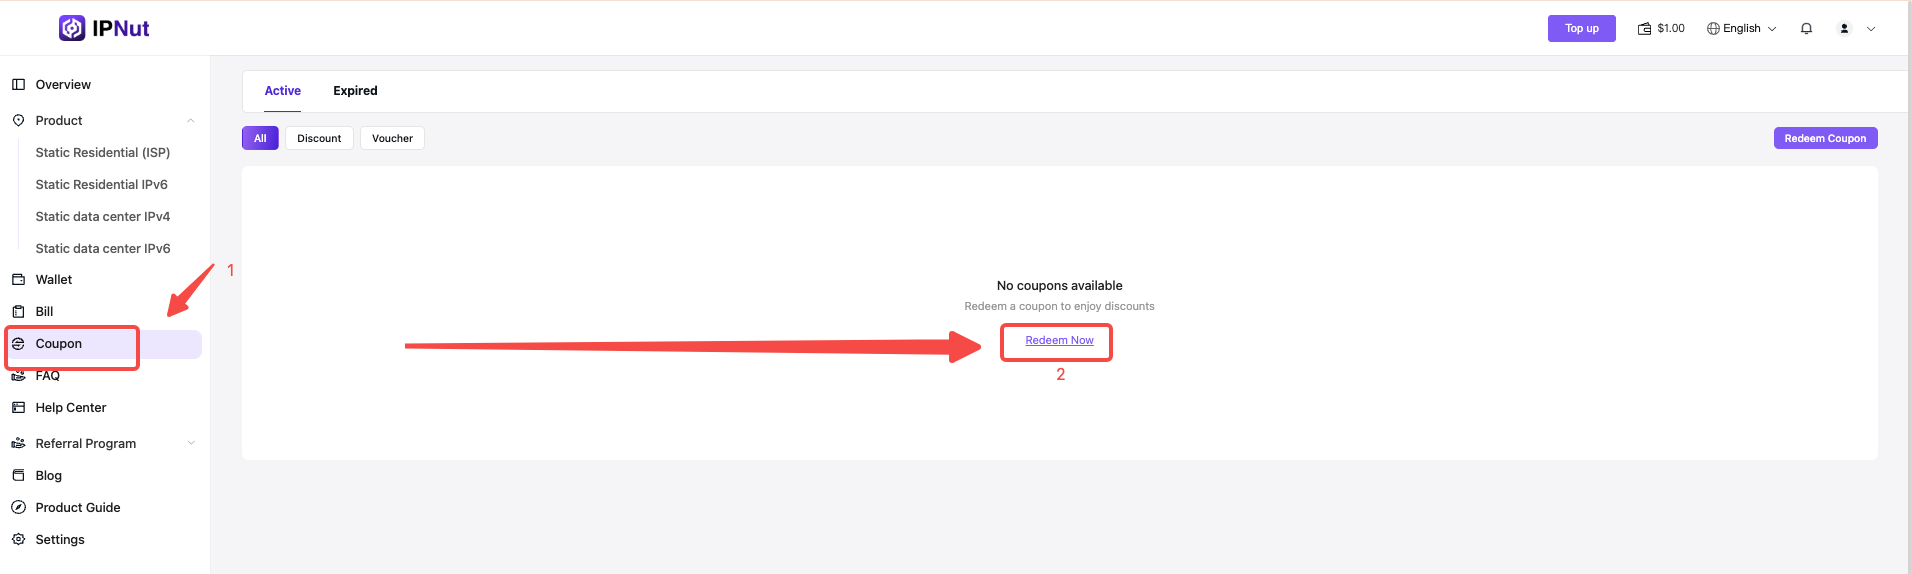
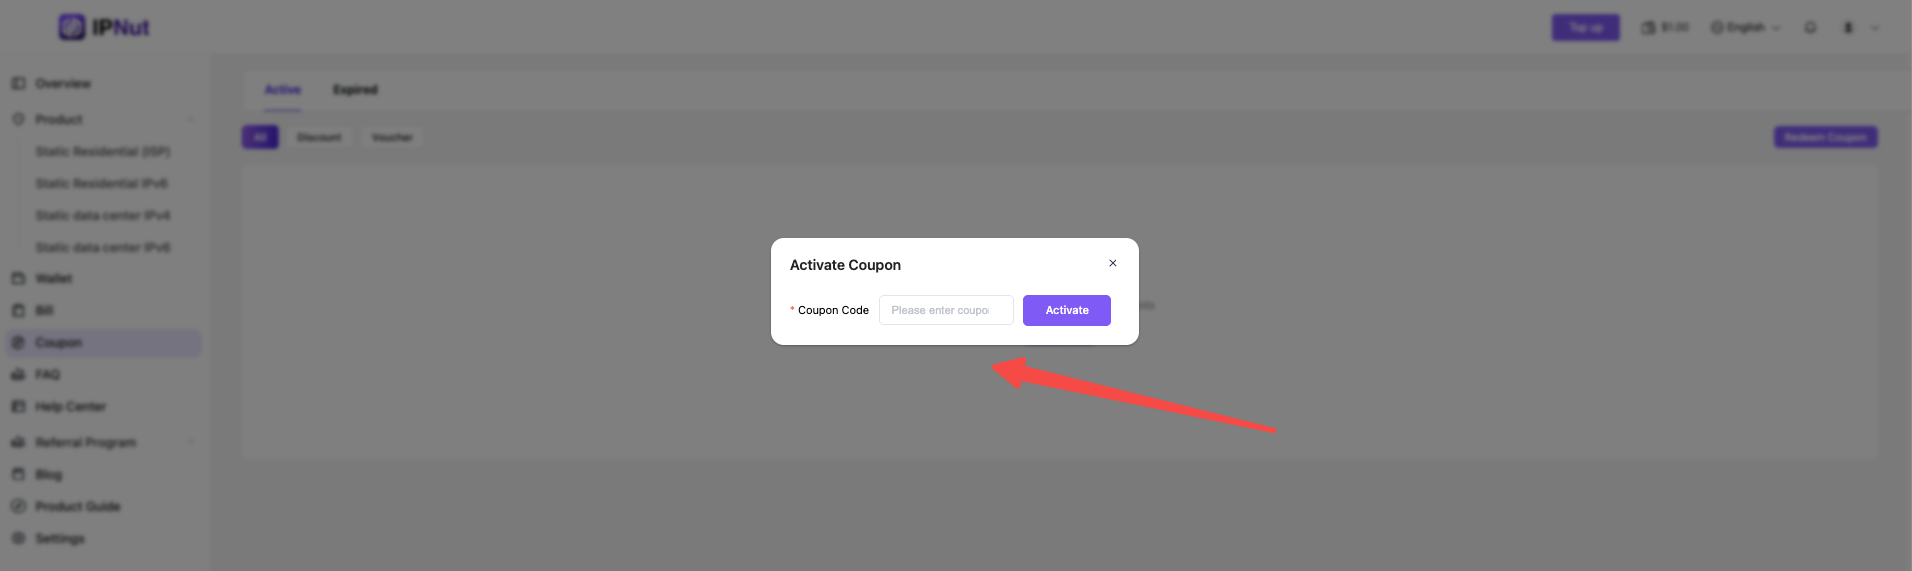
- Go to Coupon in the left menu, click Redeem Now, enter the code CosLogin10, and click Activate to get a 10% discount.
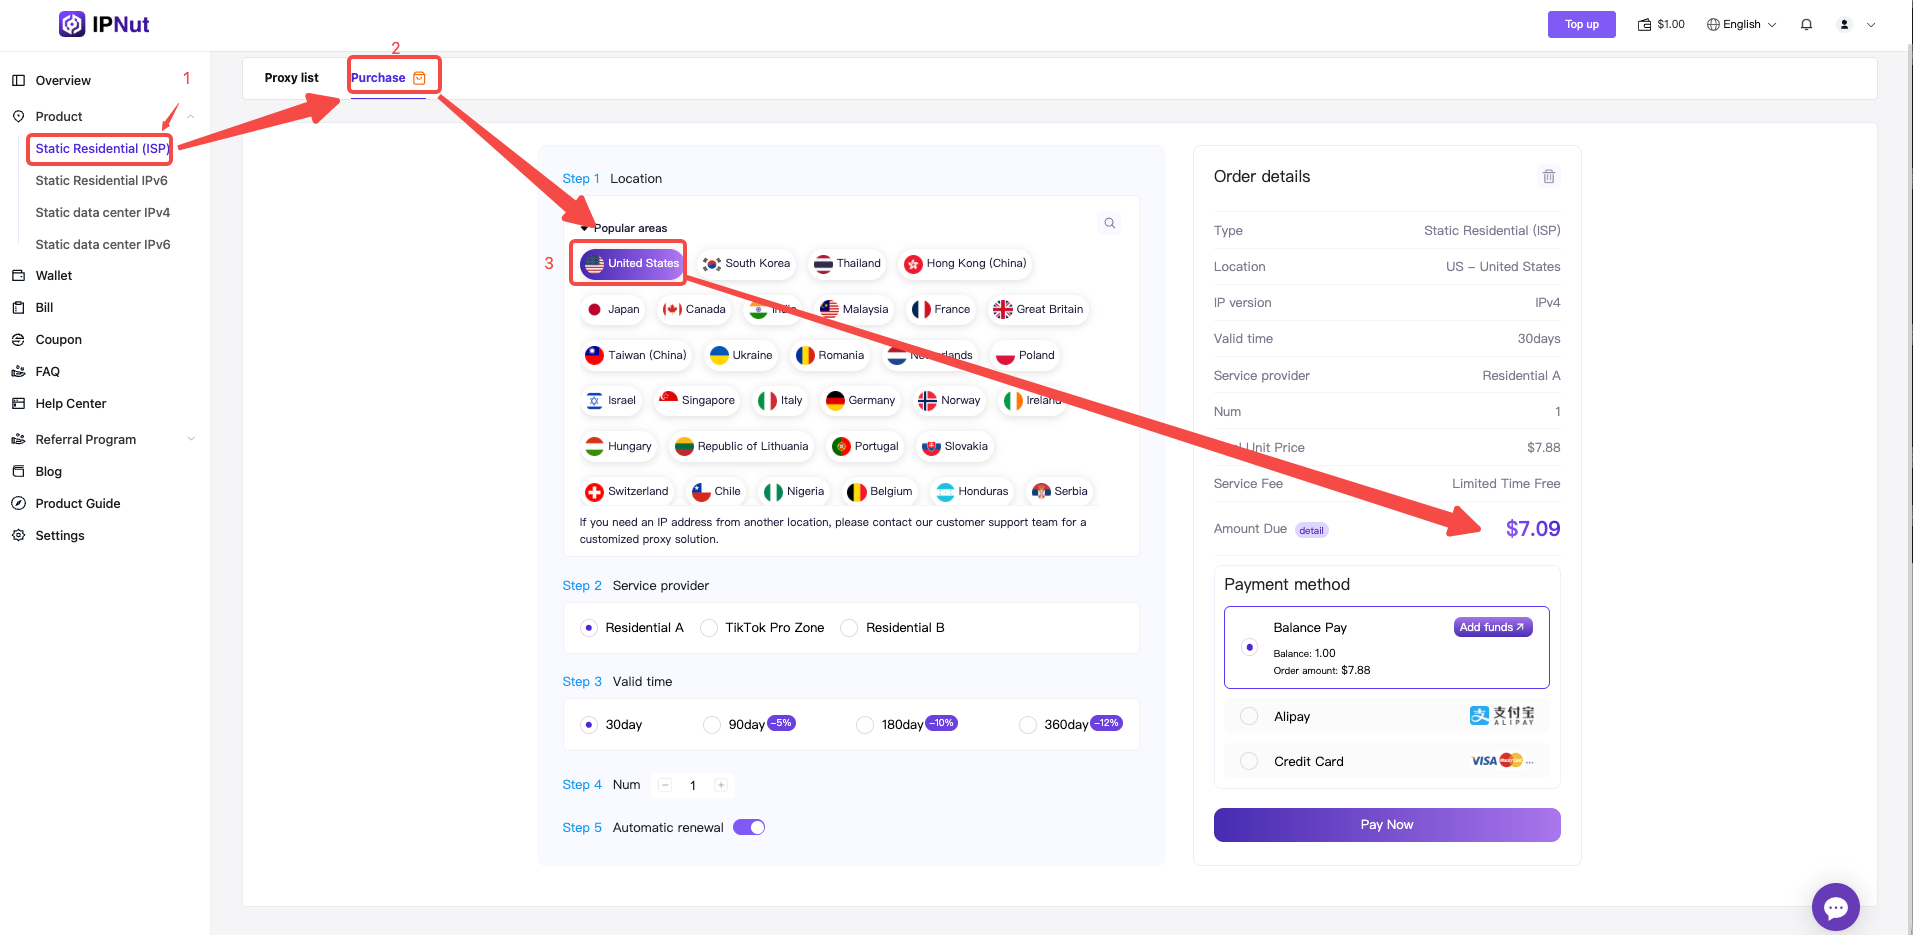
- Once redeemed, choose the proxy type that suits your needs. We'll use static residential (ISP) proxies as an example. Select your target country/region and subscription period, then click Purchase.
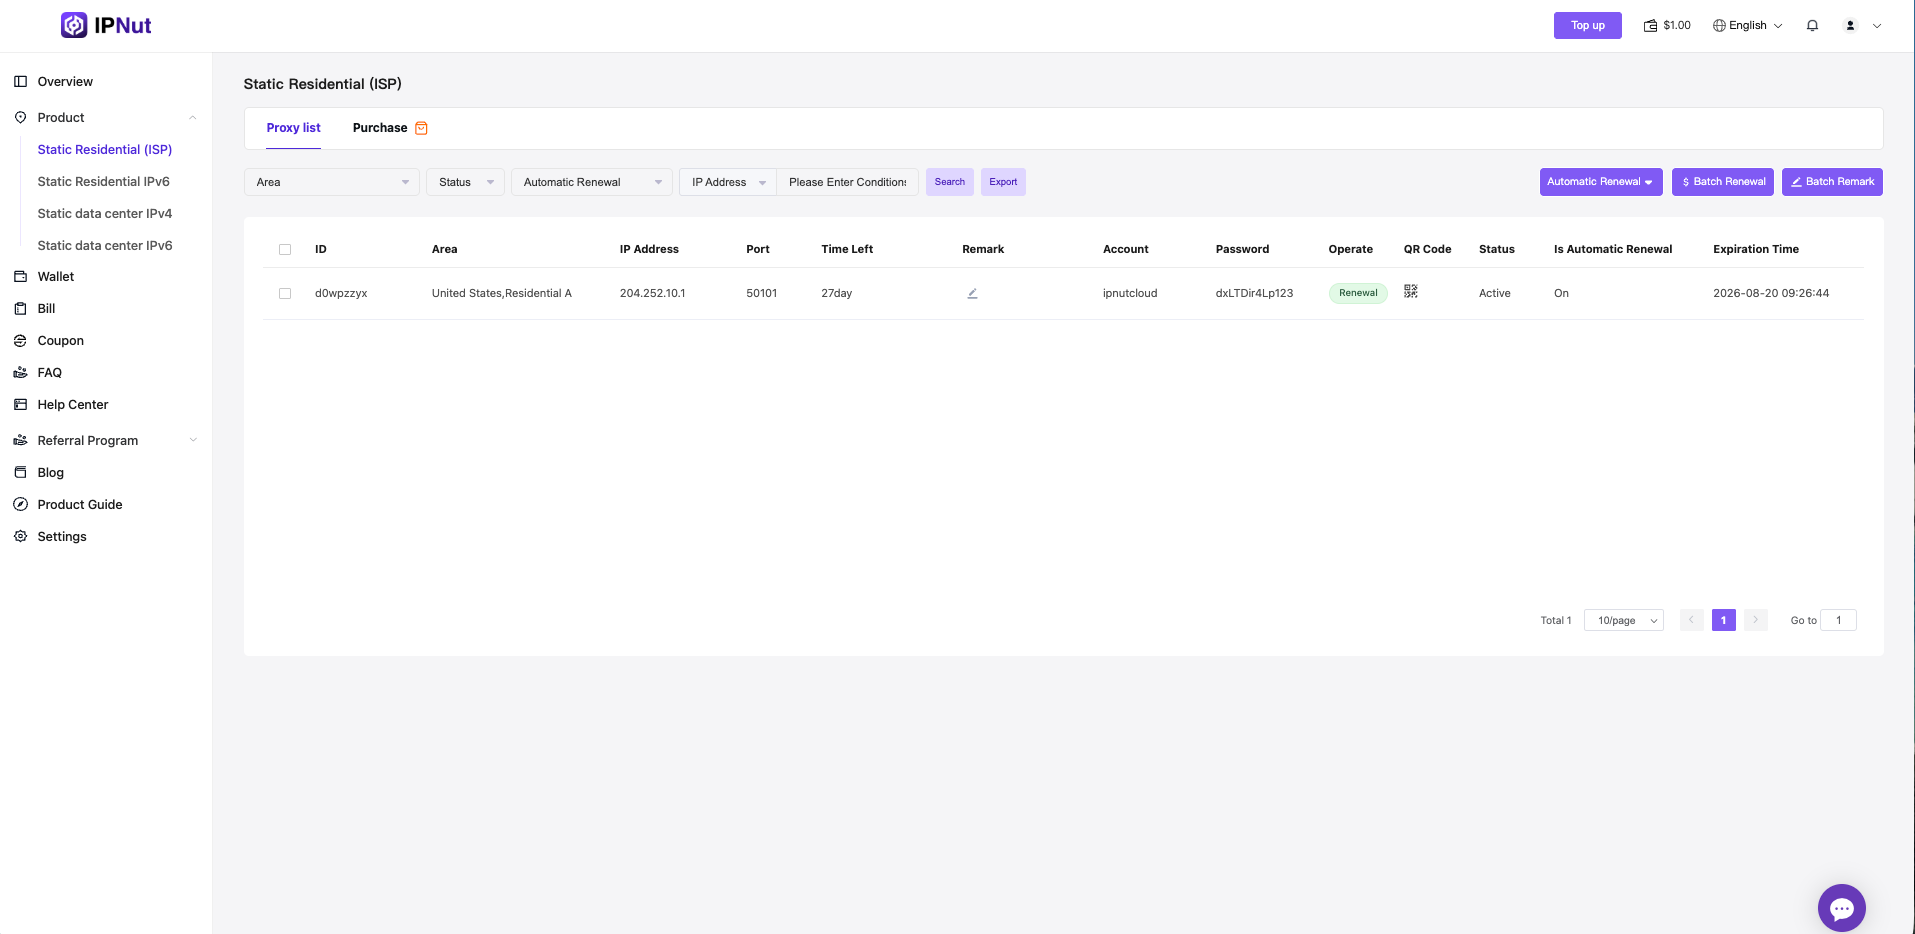
- After the purchase is complete, go to the My Proxies page to view your proxy IP details, including IP address, port, username, and password.
Part 2: CosLogin Firefox Fingerprint Browser Configuration
- Go to the [CosLogin antidetect browser] official website and click [Download Now]. Registration includes free access.
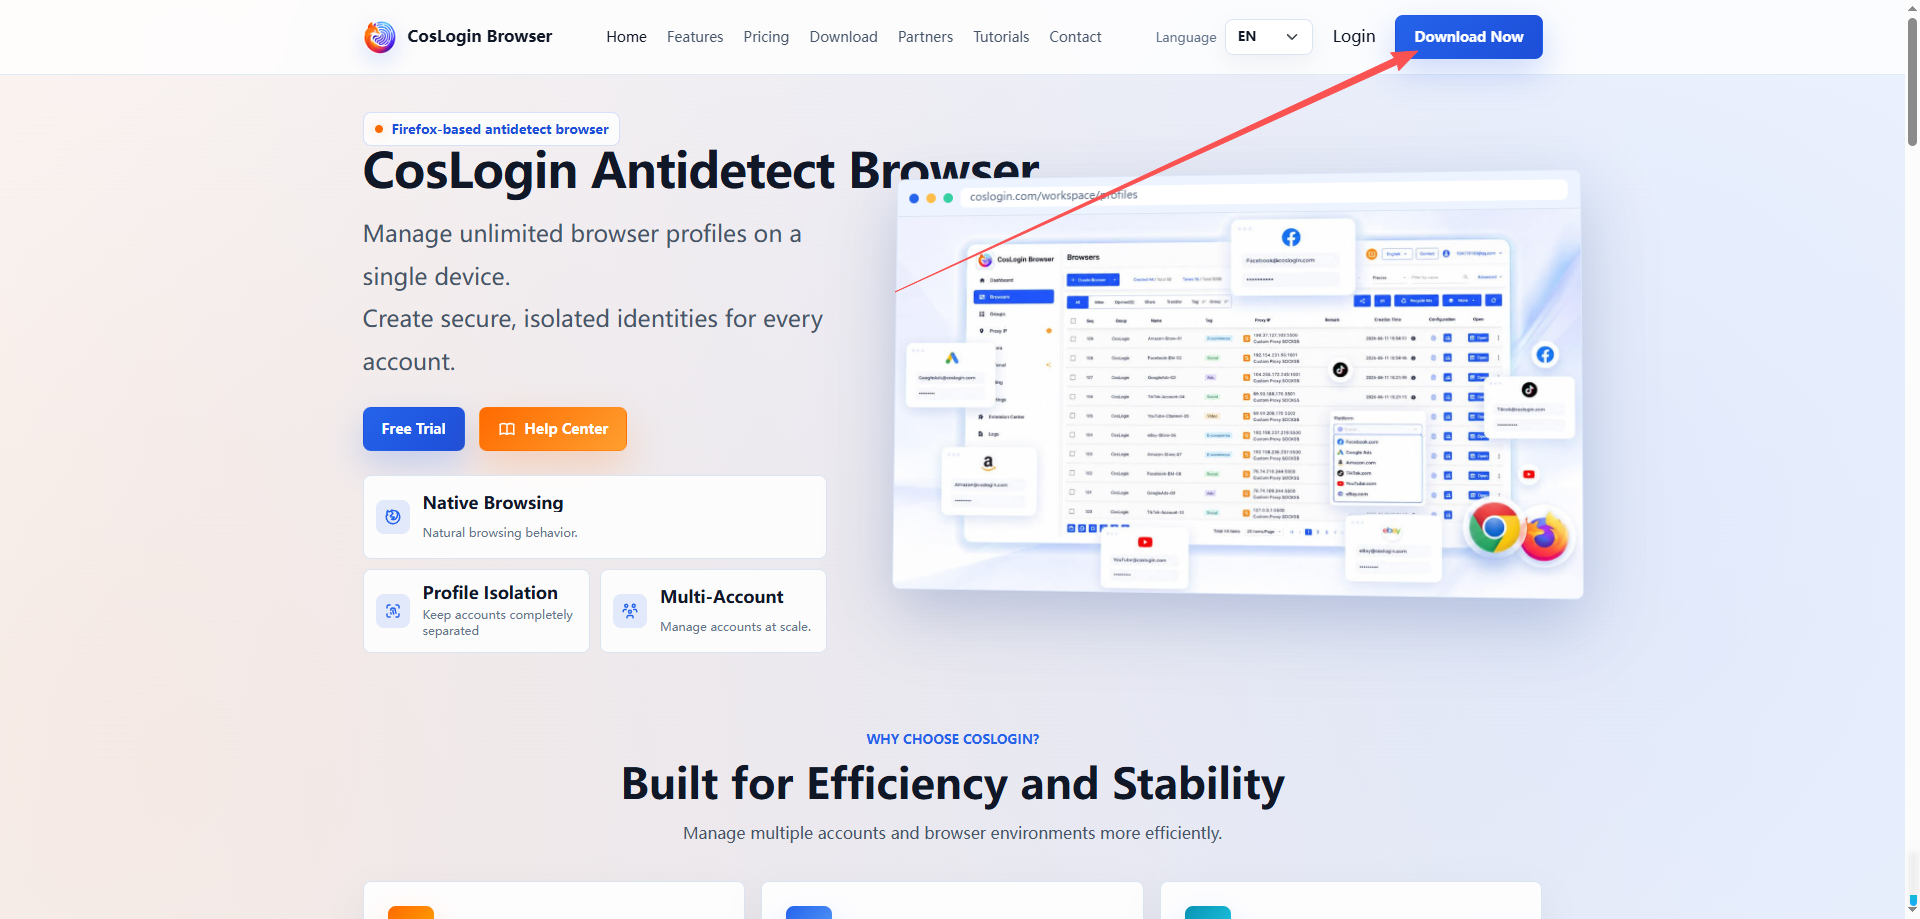
- After installing the client, register and log in to the software dashboard.
- Click Browser Profiles -> Create Profile. Under Proxy Settings -> Proxy Type, select SOCKS5 (or HTTP, depending on the protocol supported by your IPNut proxy).
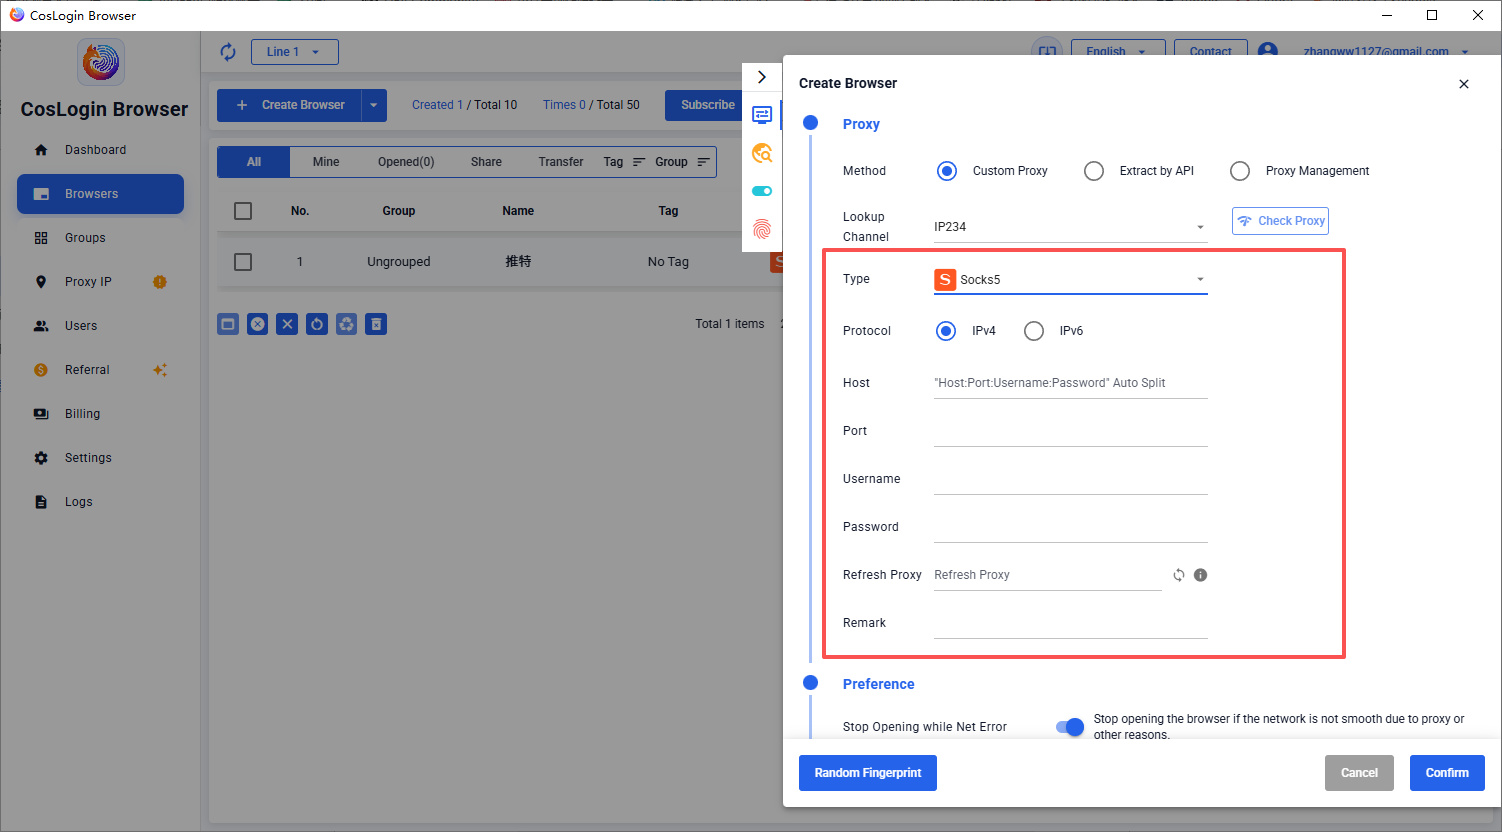
- Enter the static IP information from your IPNut purchase — IP:Port:Username:Password — and click Confirm.
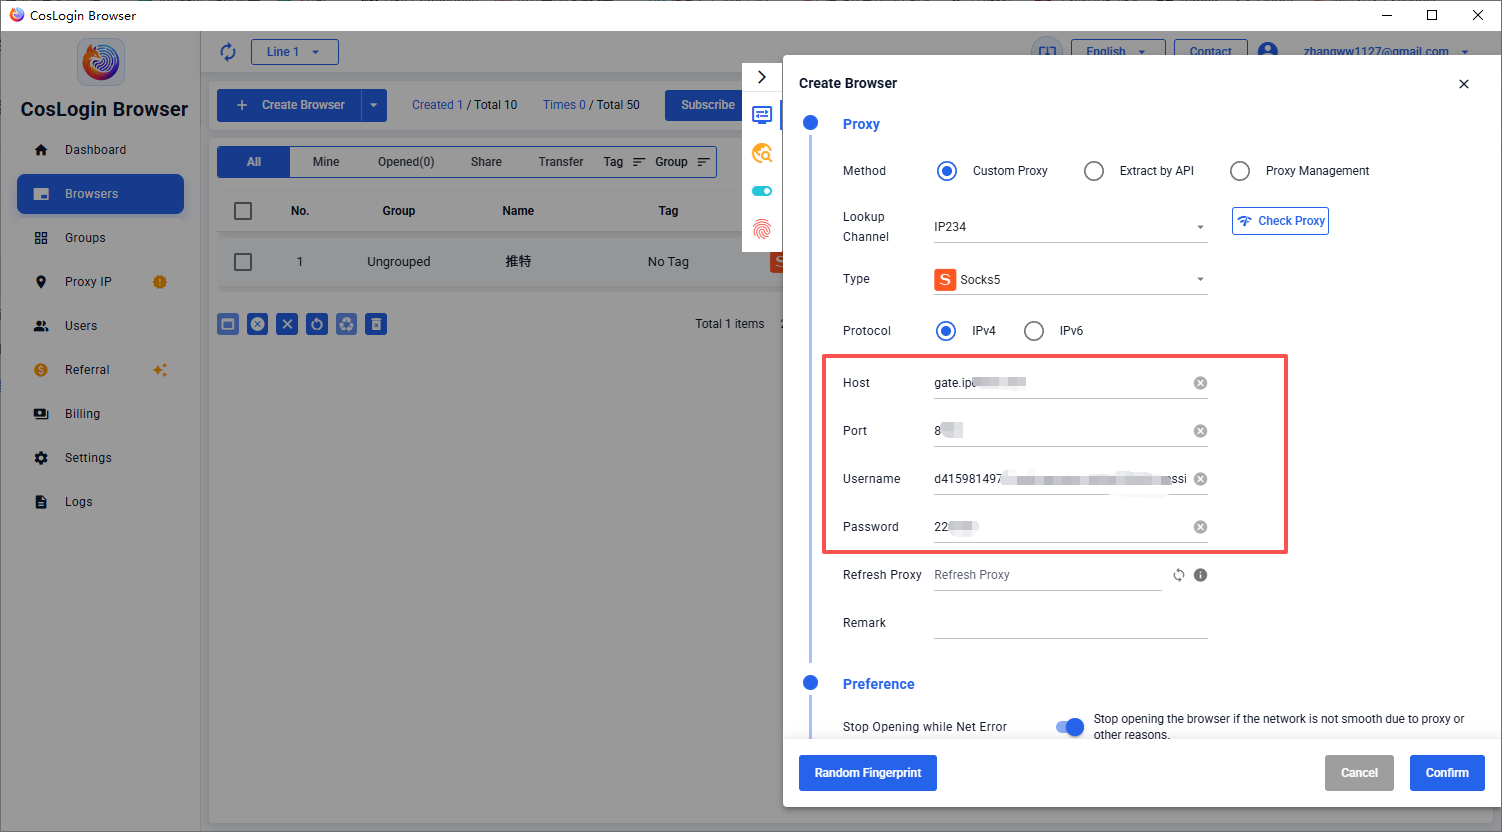
- The browser profile is now created. Click Open to start browsing with your IPNut proxy!
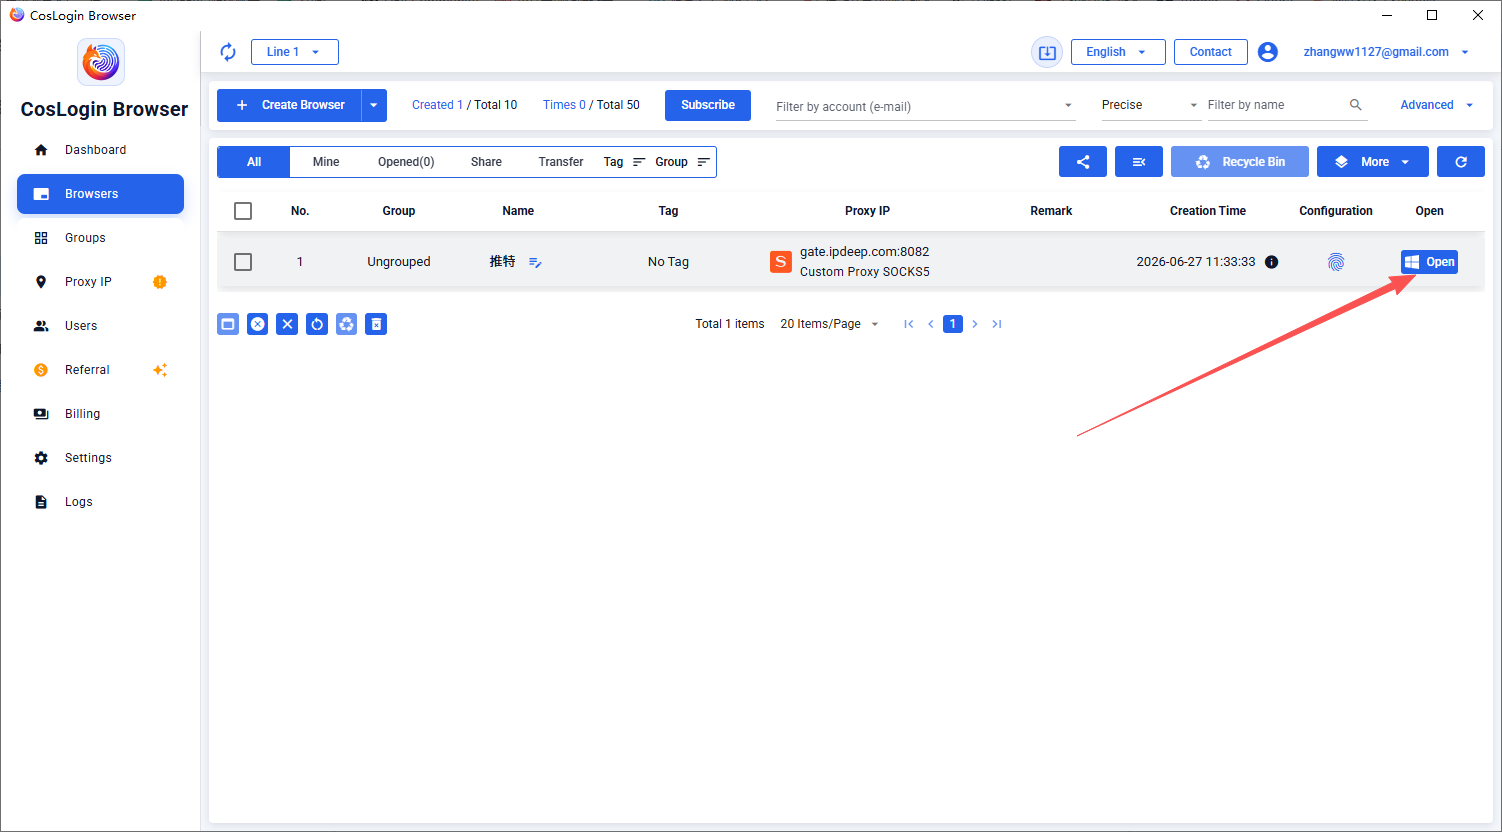
That completes the tutorial for configuring IPNut proxies in the CosLogin Fingerprint browser!
Tip: Use the code CosLogin10 to get a 10% discount on all IPNut products. Please redeem it in the coupon module before making a purchase.