RolaProxy Settings
I. RolaProxy Proxy Setup
- Register as a RolaProxy user and log in; then, click "Contact Customer Service" to receive a free 200MB trial.
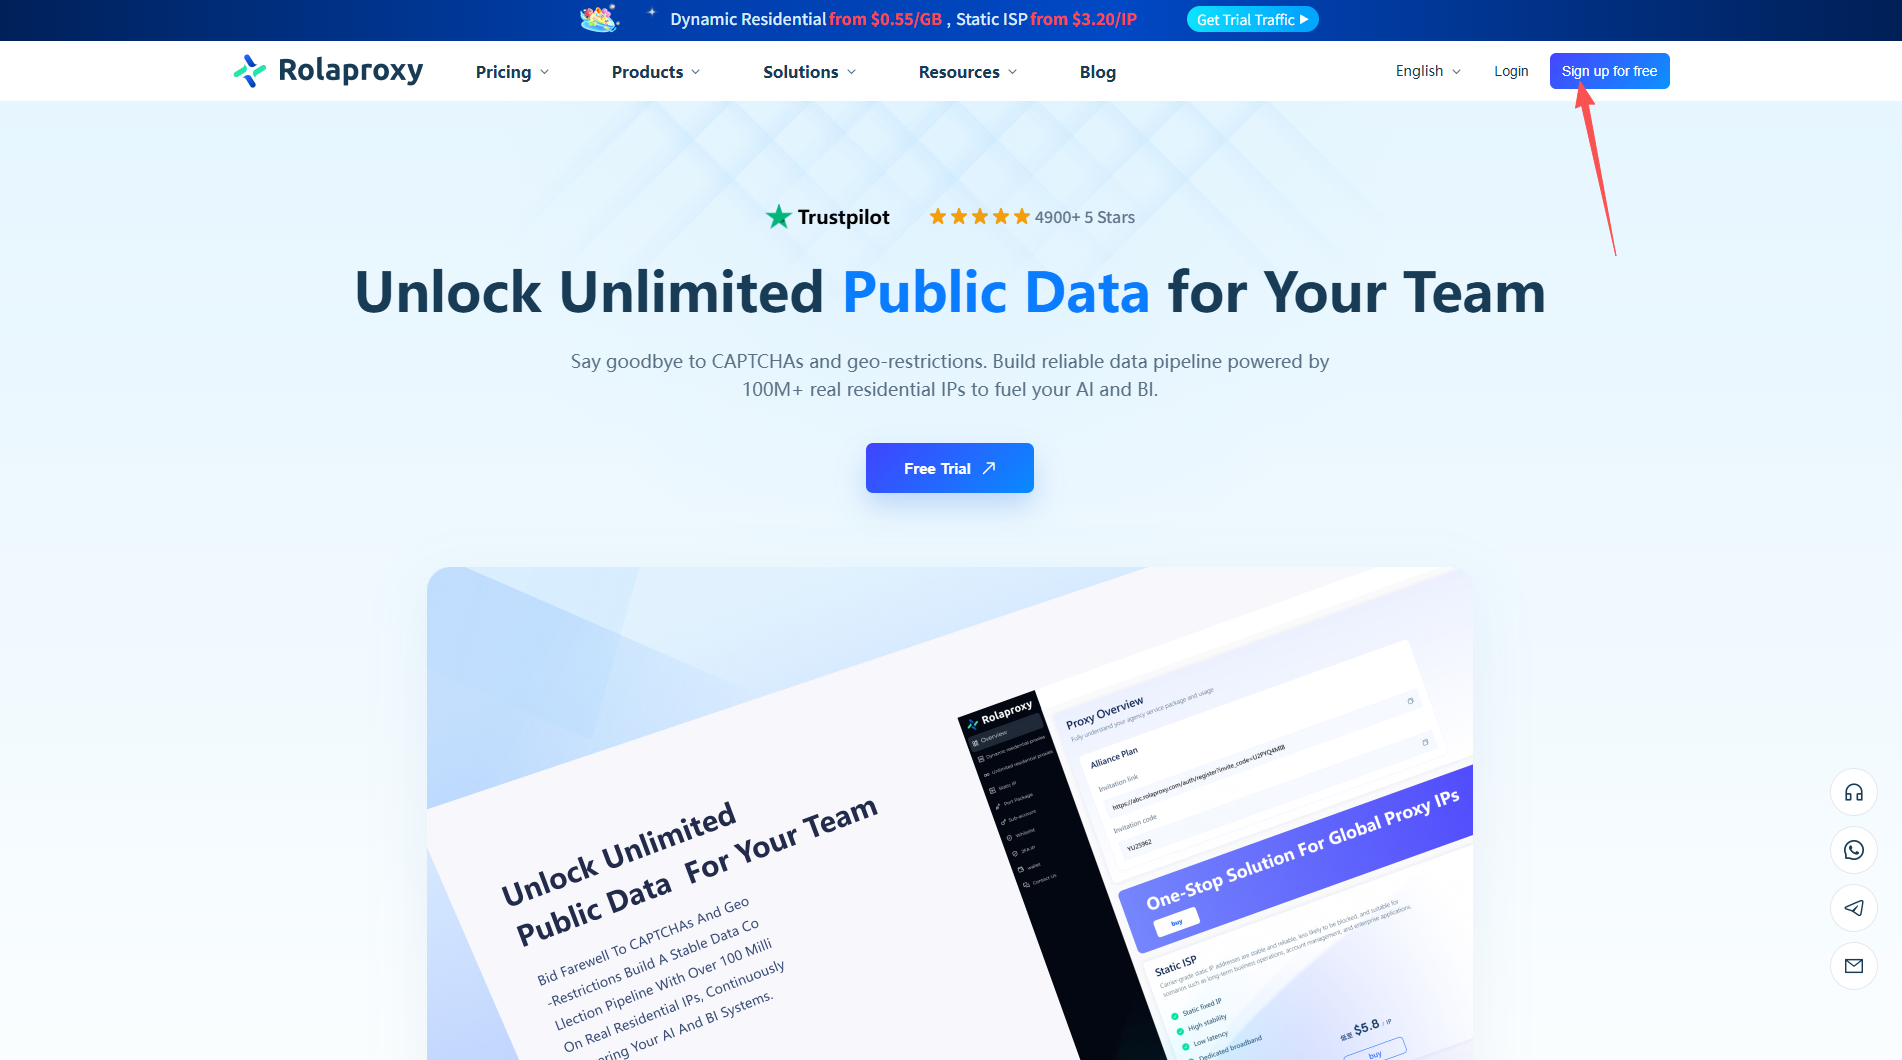
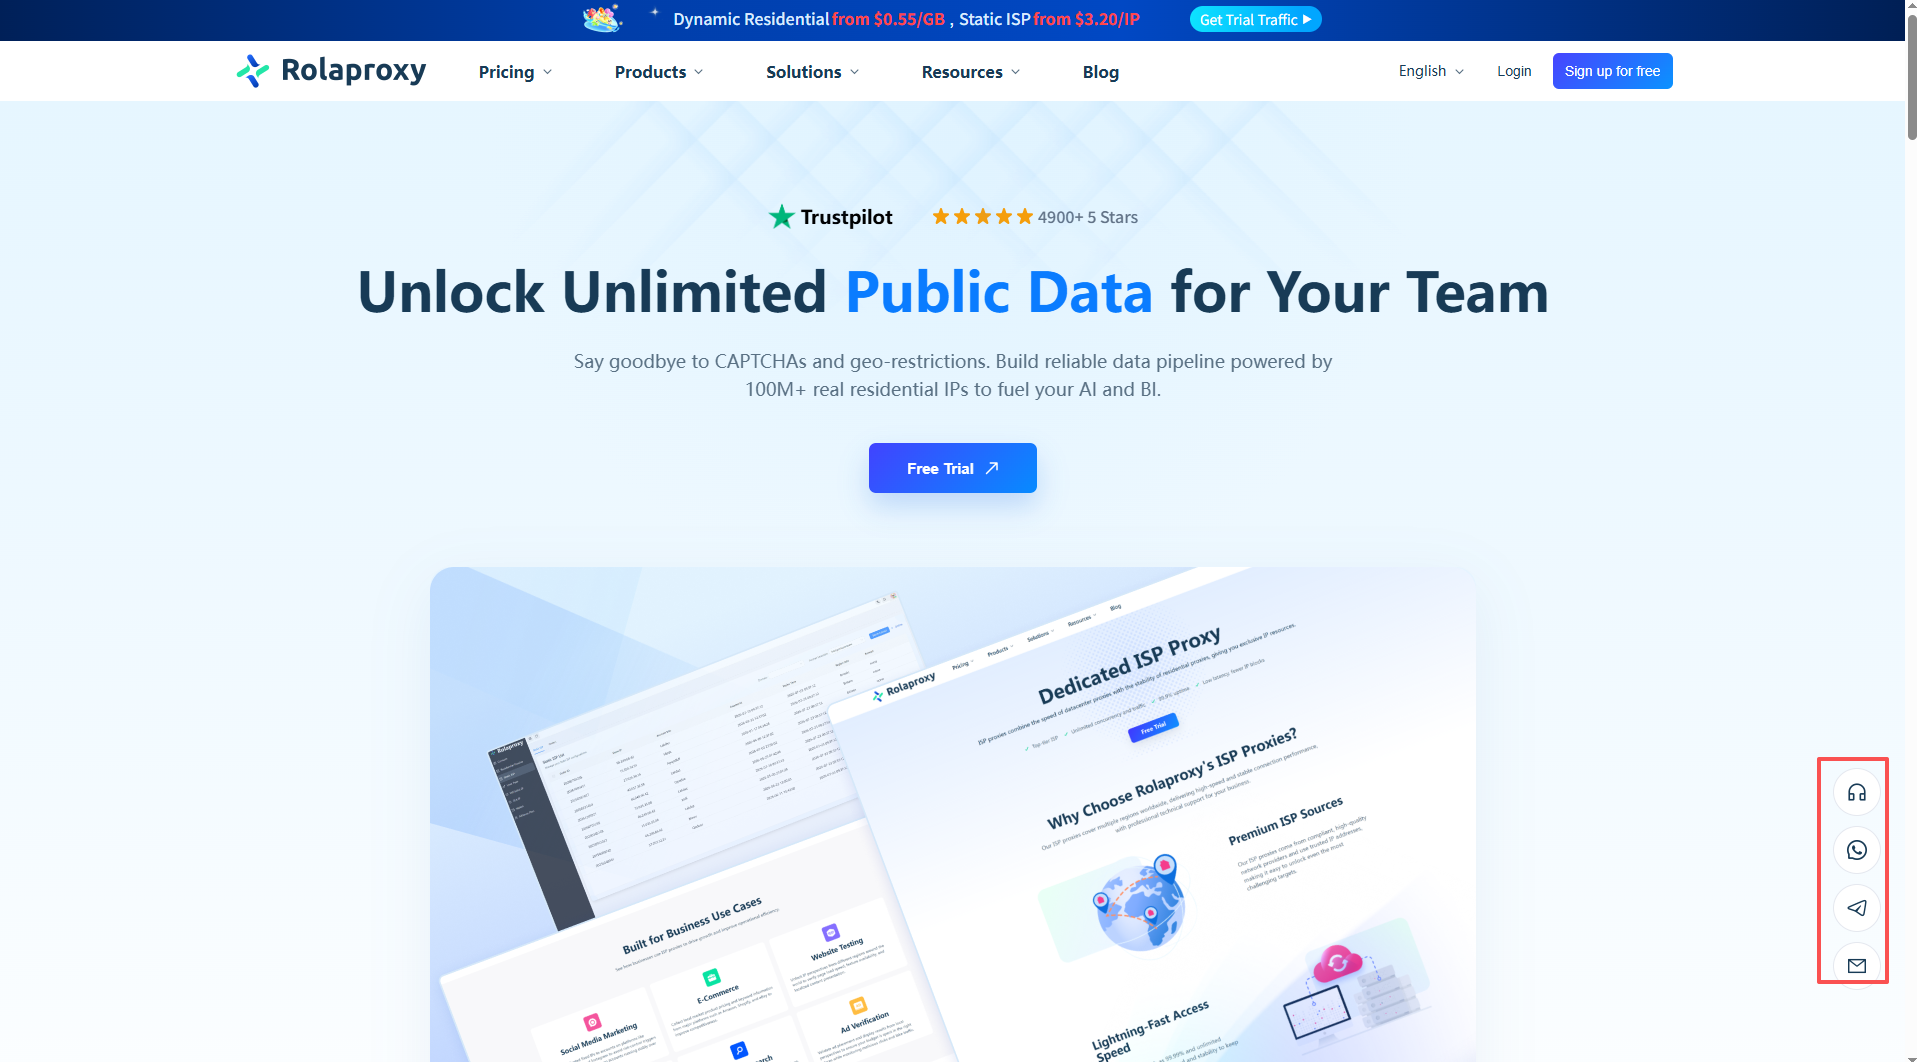
- After successfully logging in, select the IP type that suits your needs and purchase it—using static residential proxy IPs as an example.
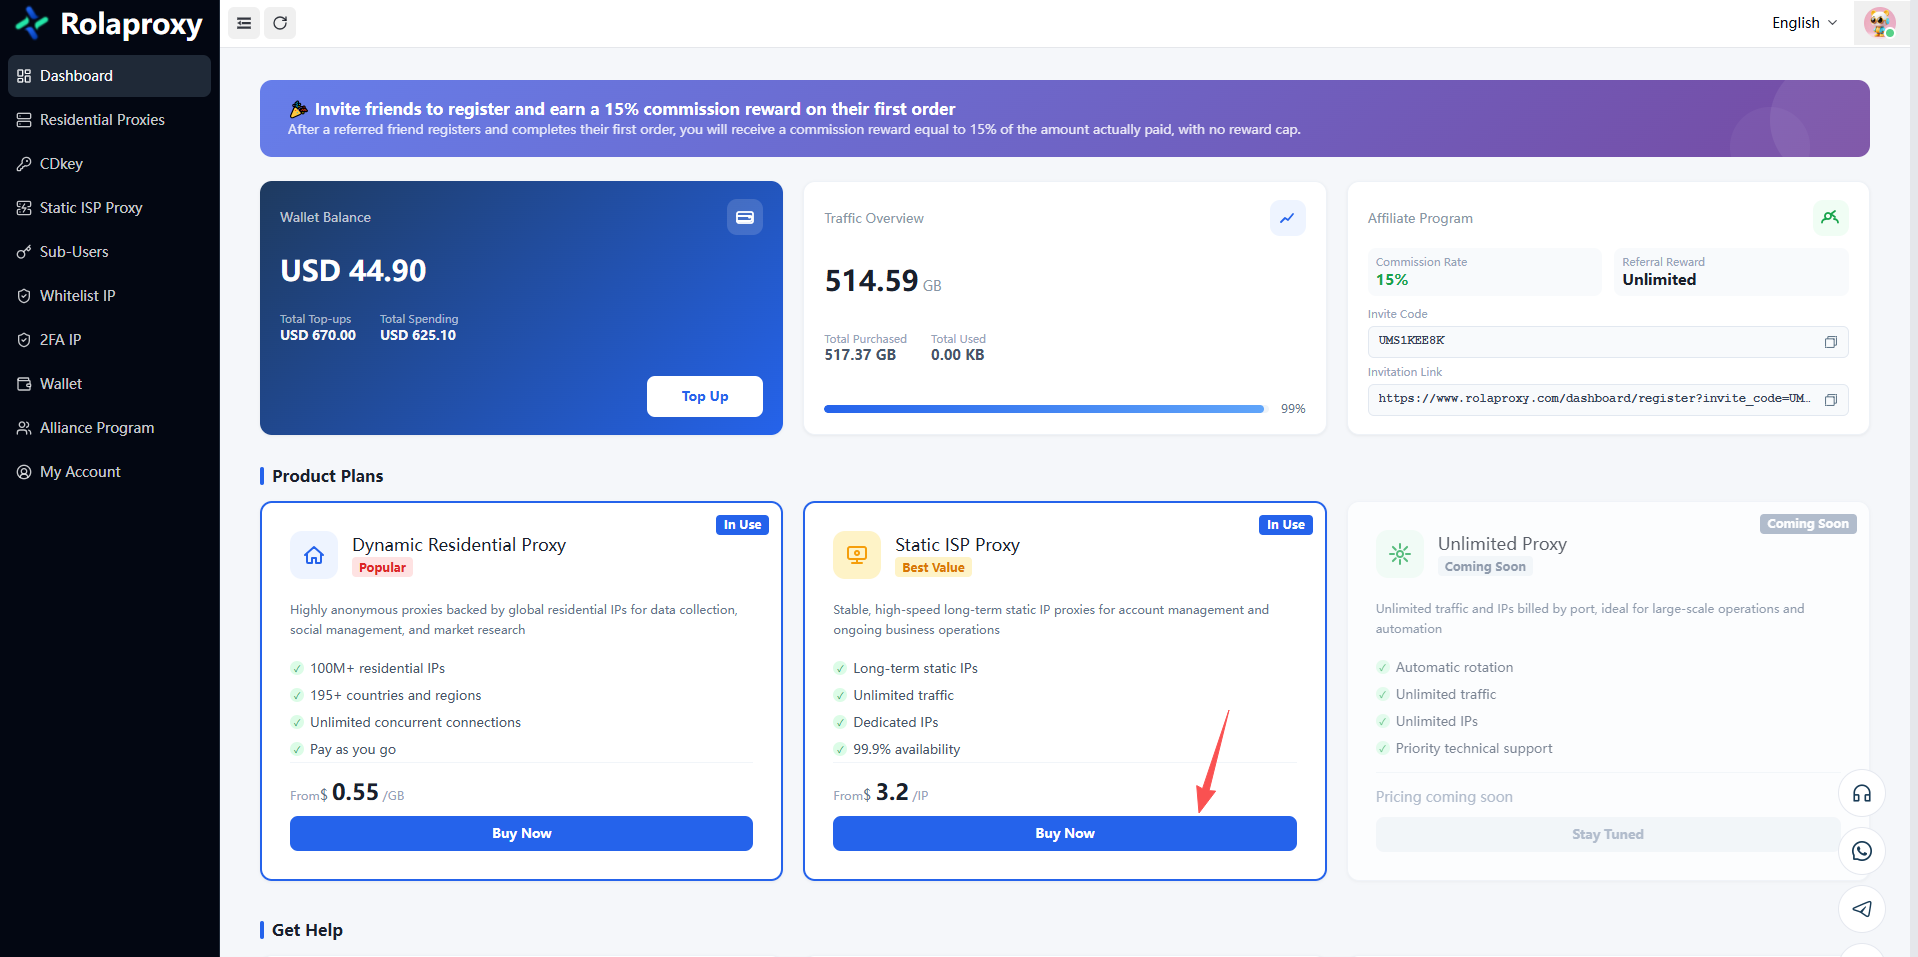
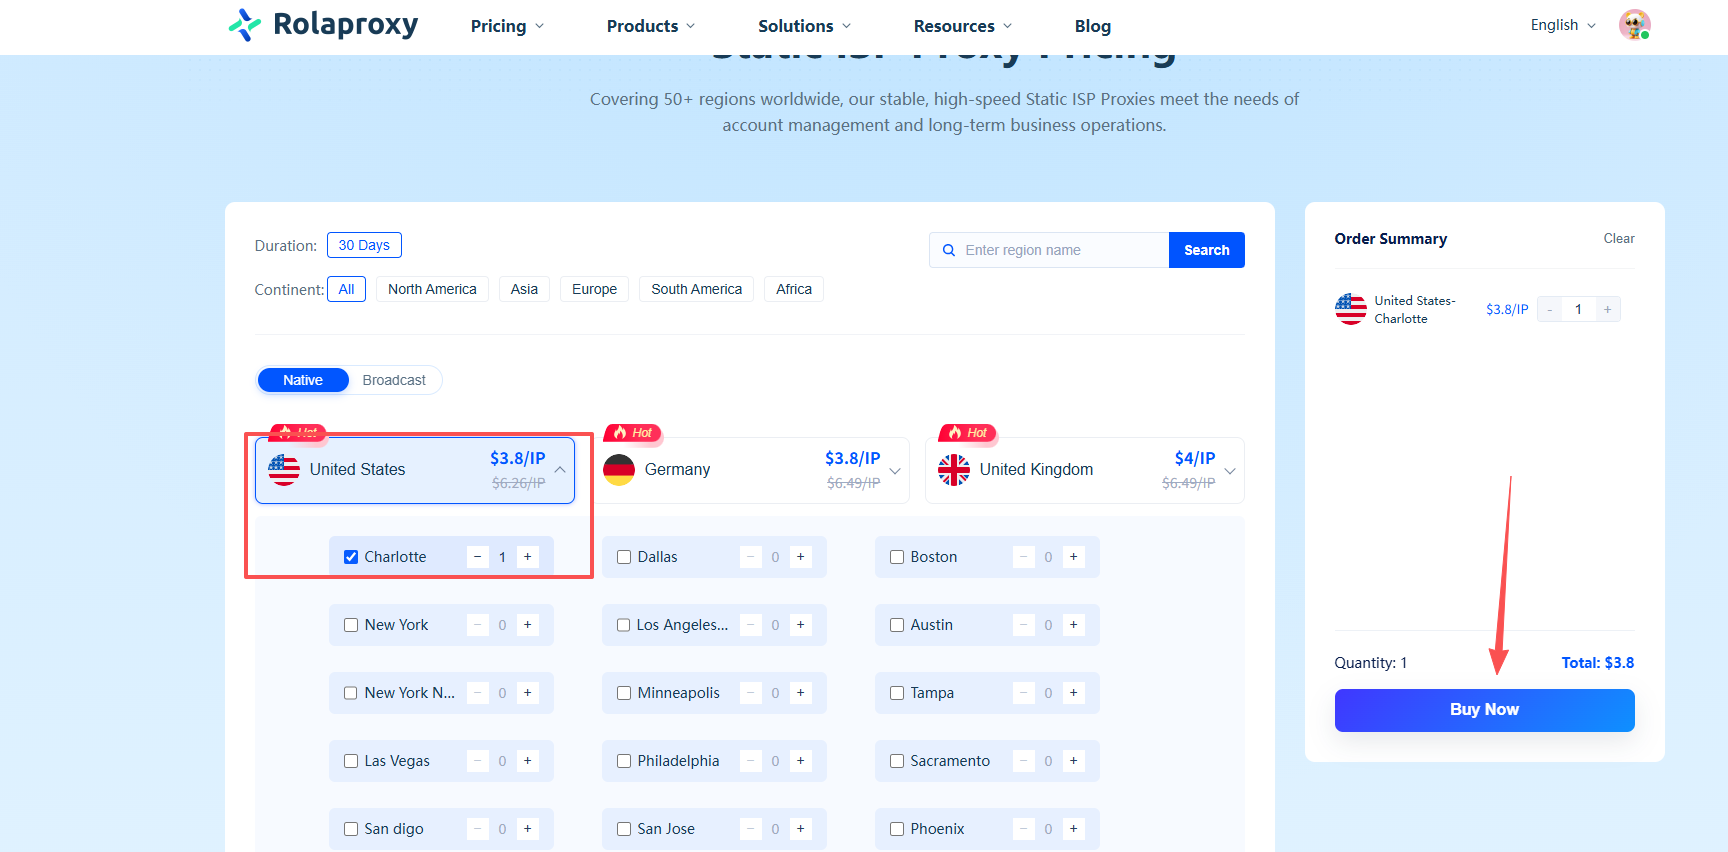
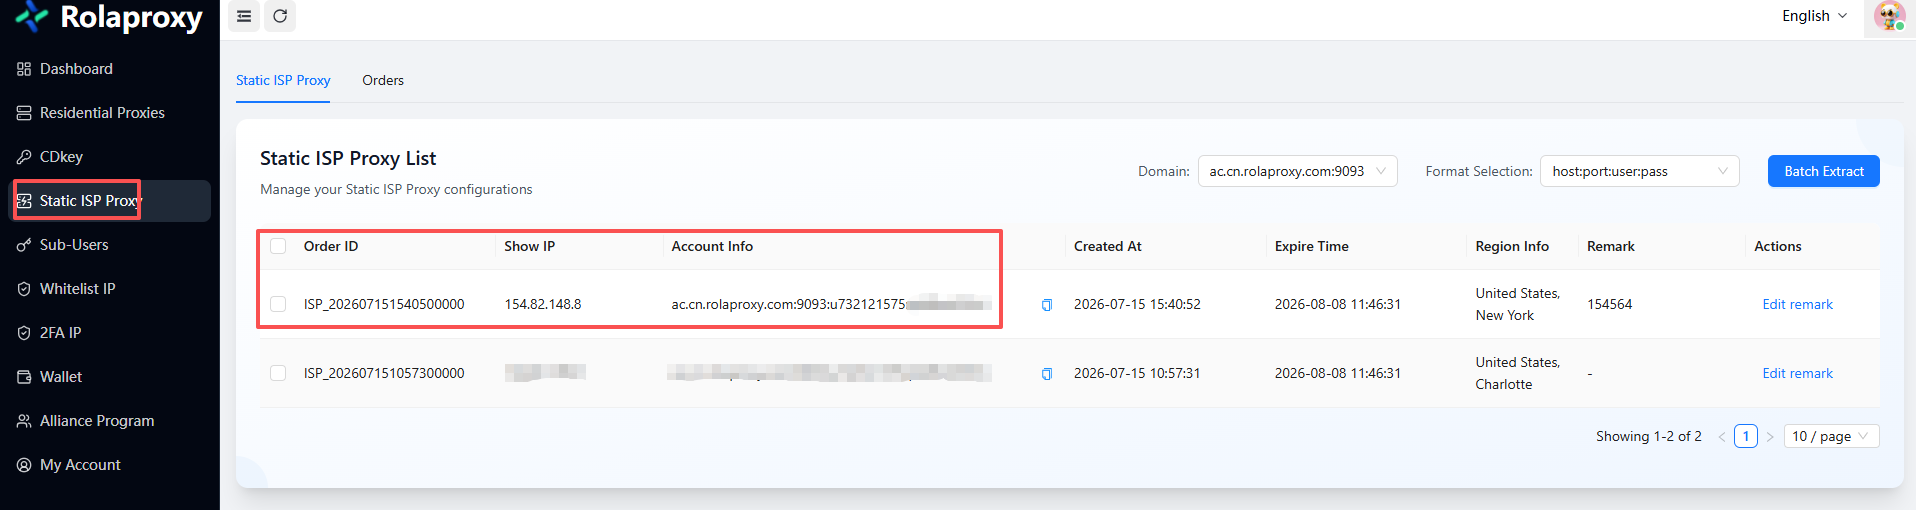
- After clicking to purchase, go to the Static ISP page in your User Center to view the purchased IP.
II. CosLogin Fingerprint Browser Configuration
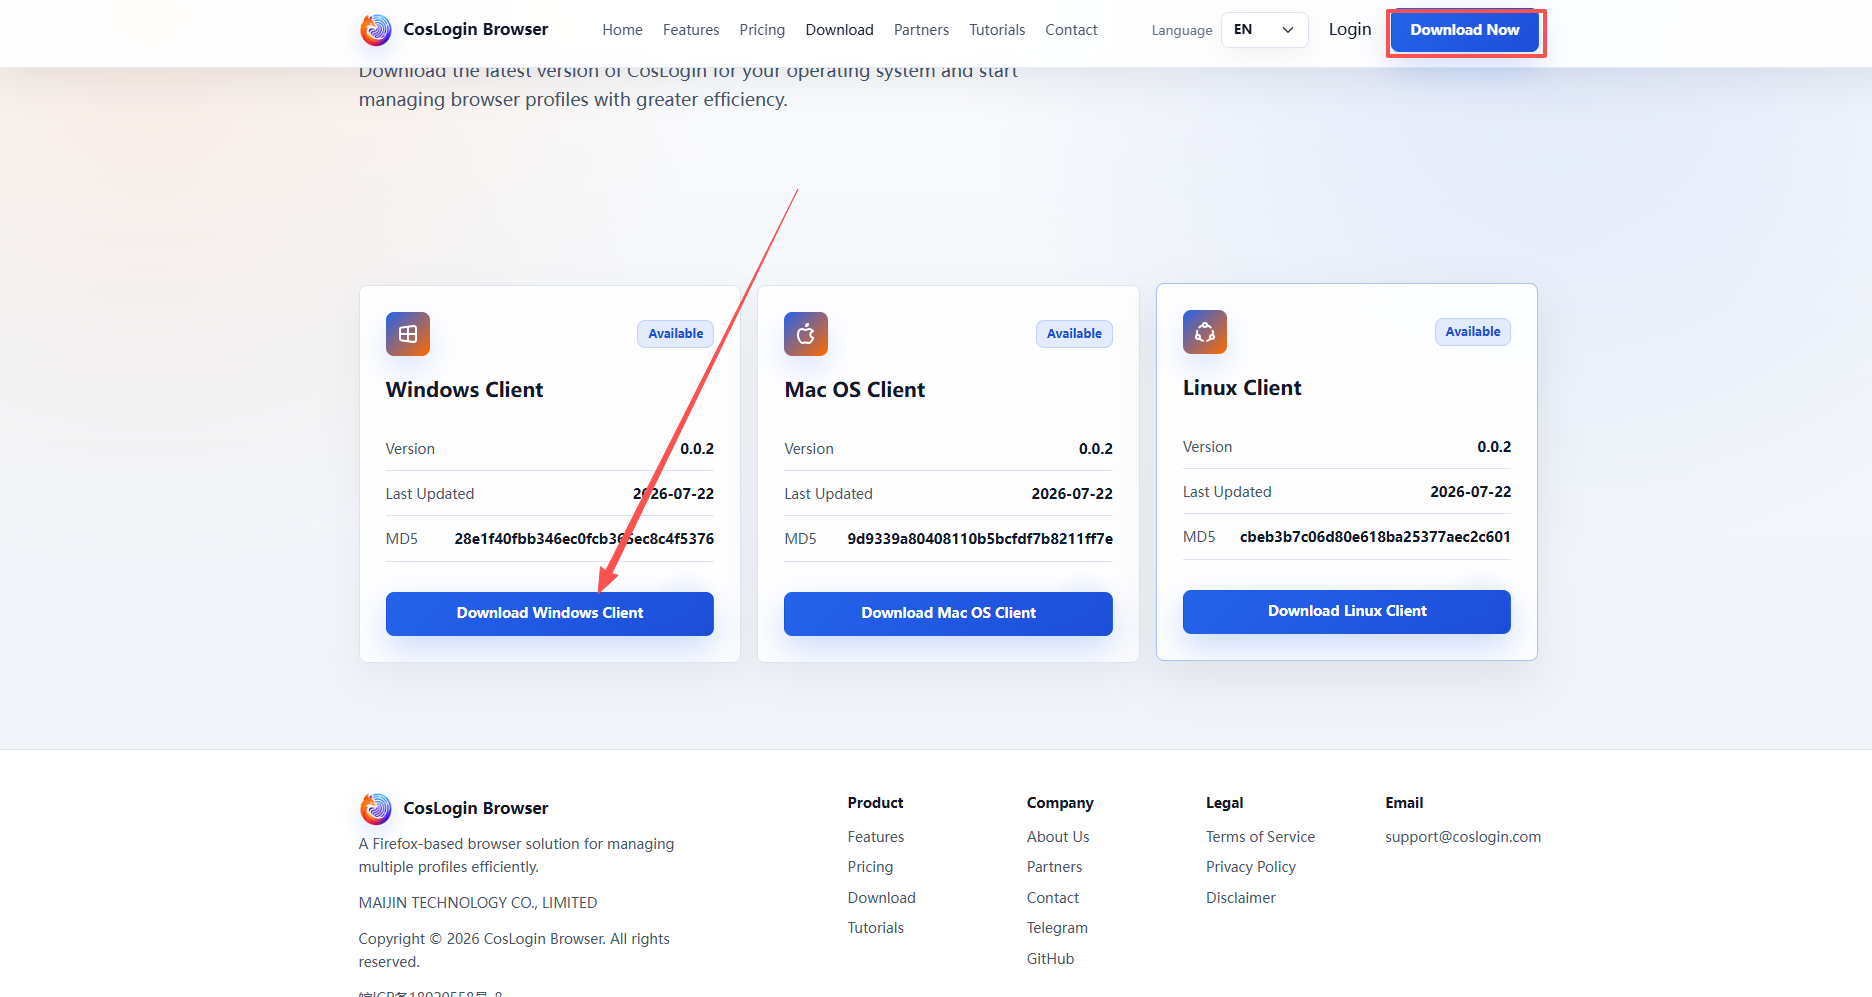
- Visit the official CosLogin Fingerprint Browser website, click "Download Now," and sign up to enjoy free access.
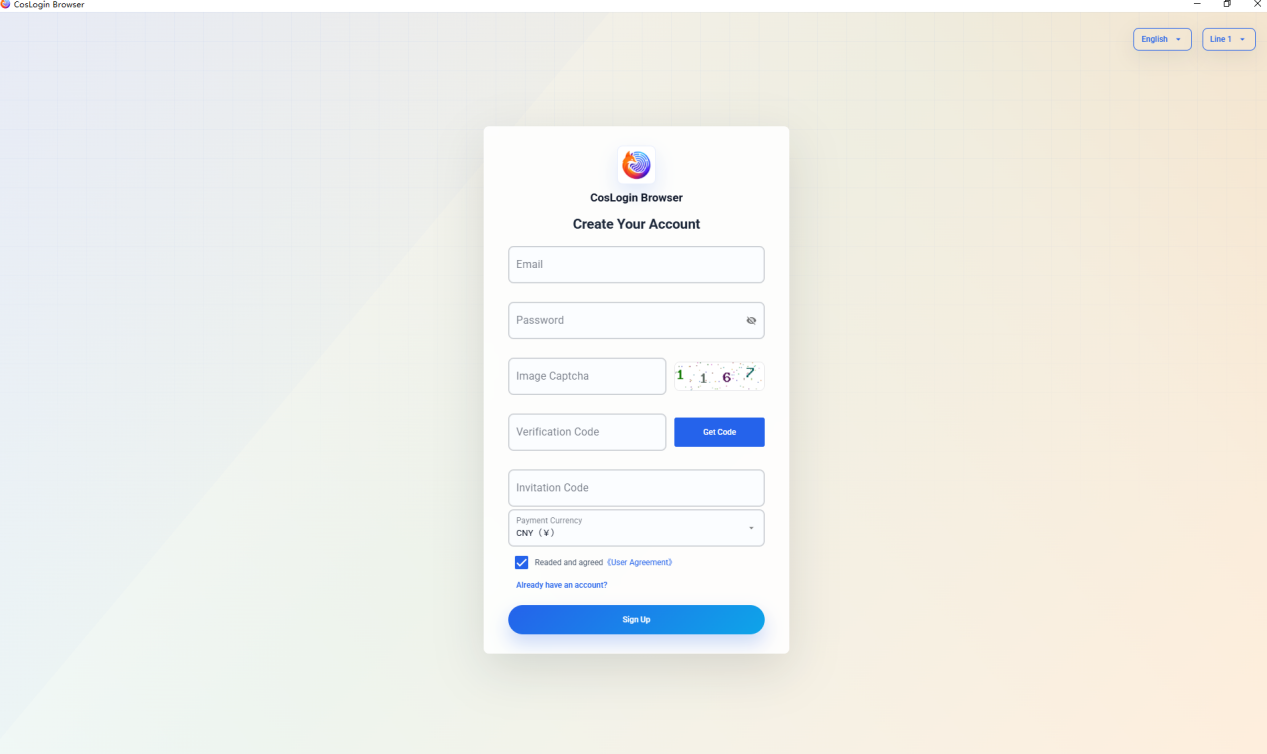
- After installing the client, register and log in to the software's backend.
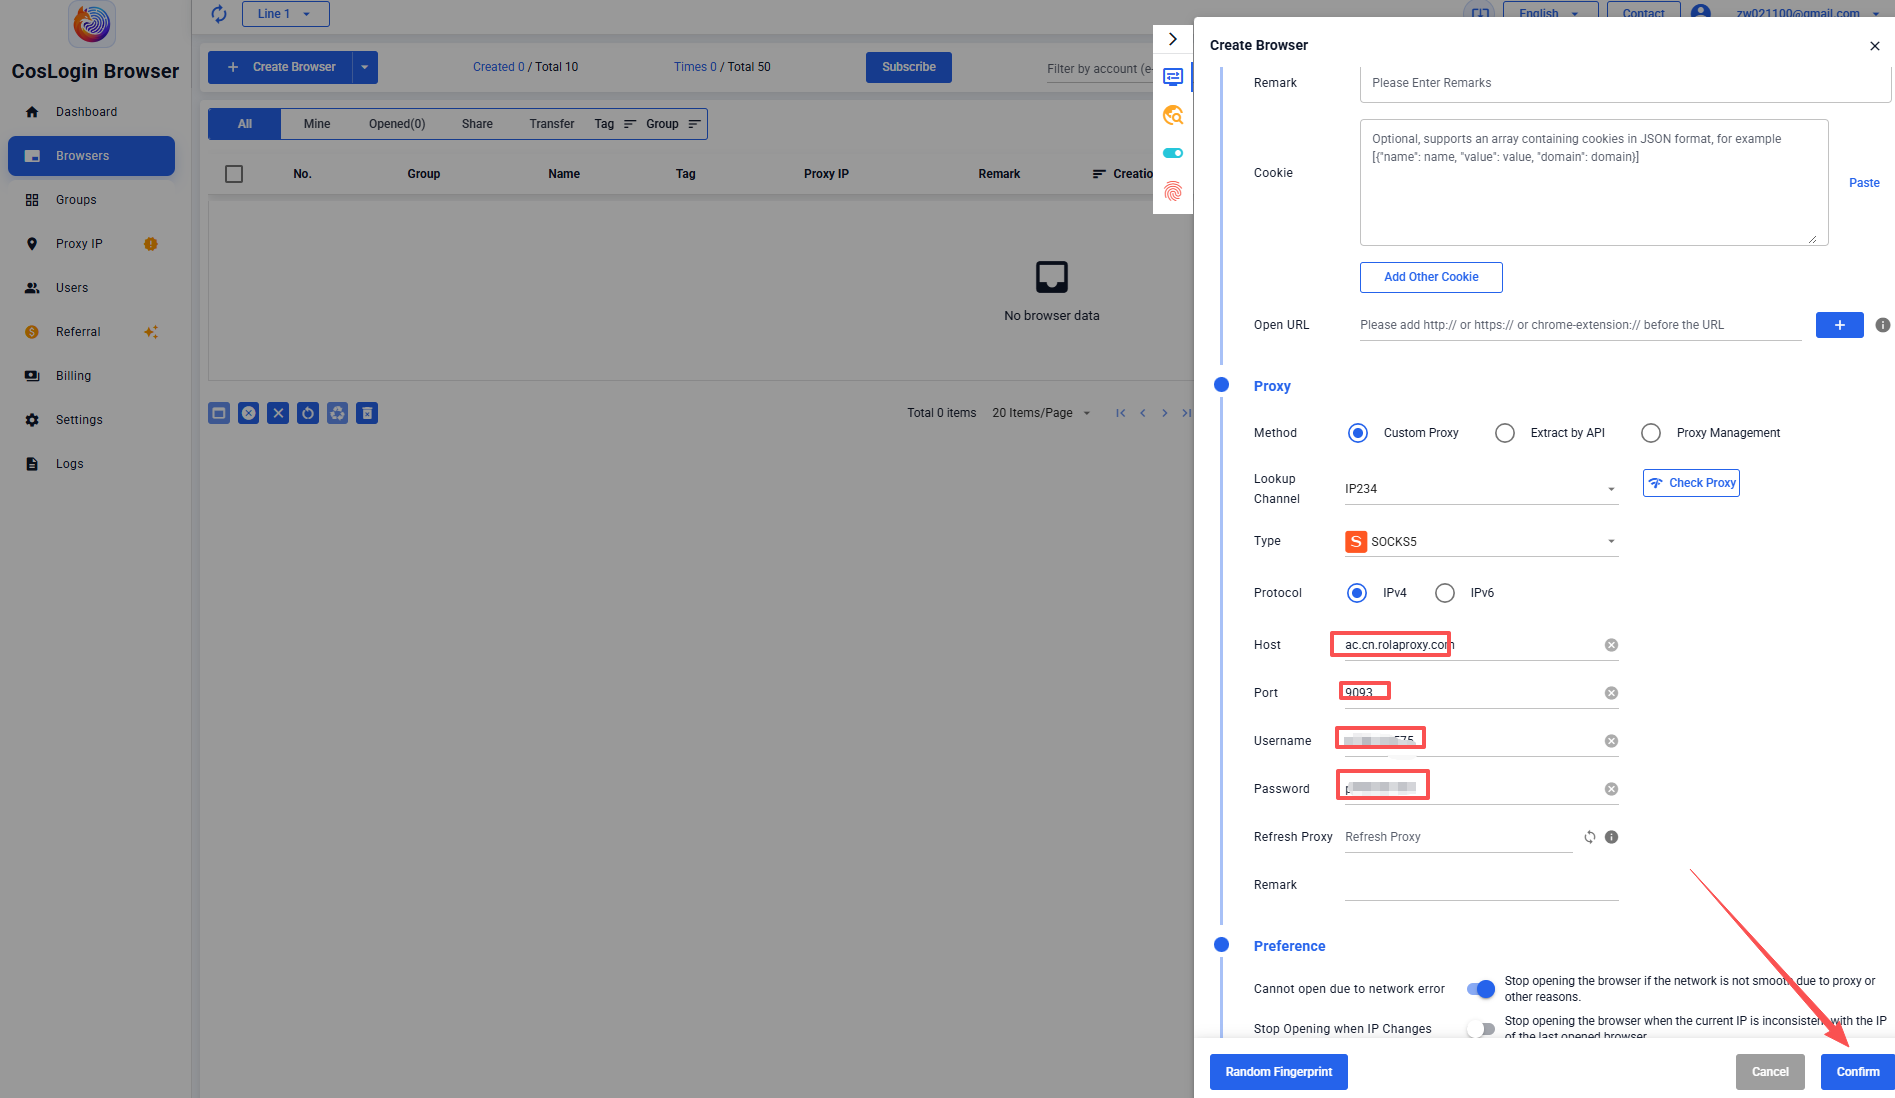
- After successfully logging in, click {Browser Window} -> {Create Window}, and under {Proxy Settings} -> {Proxy Type}, select {SOCKS5}
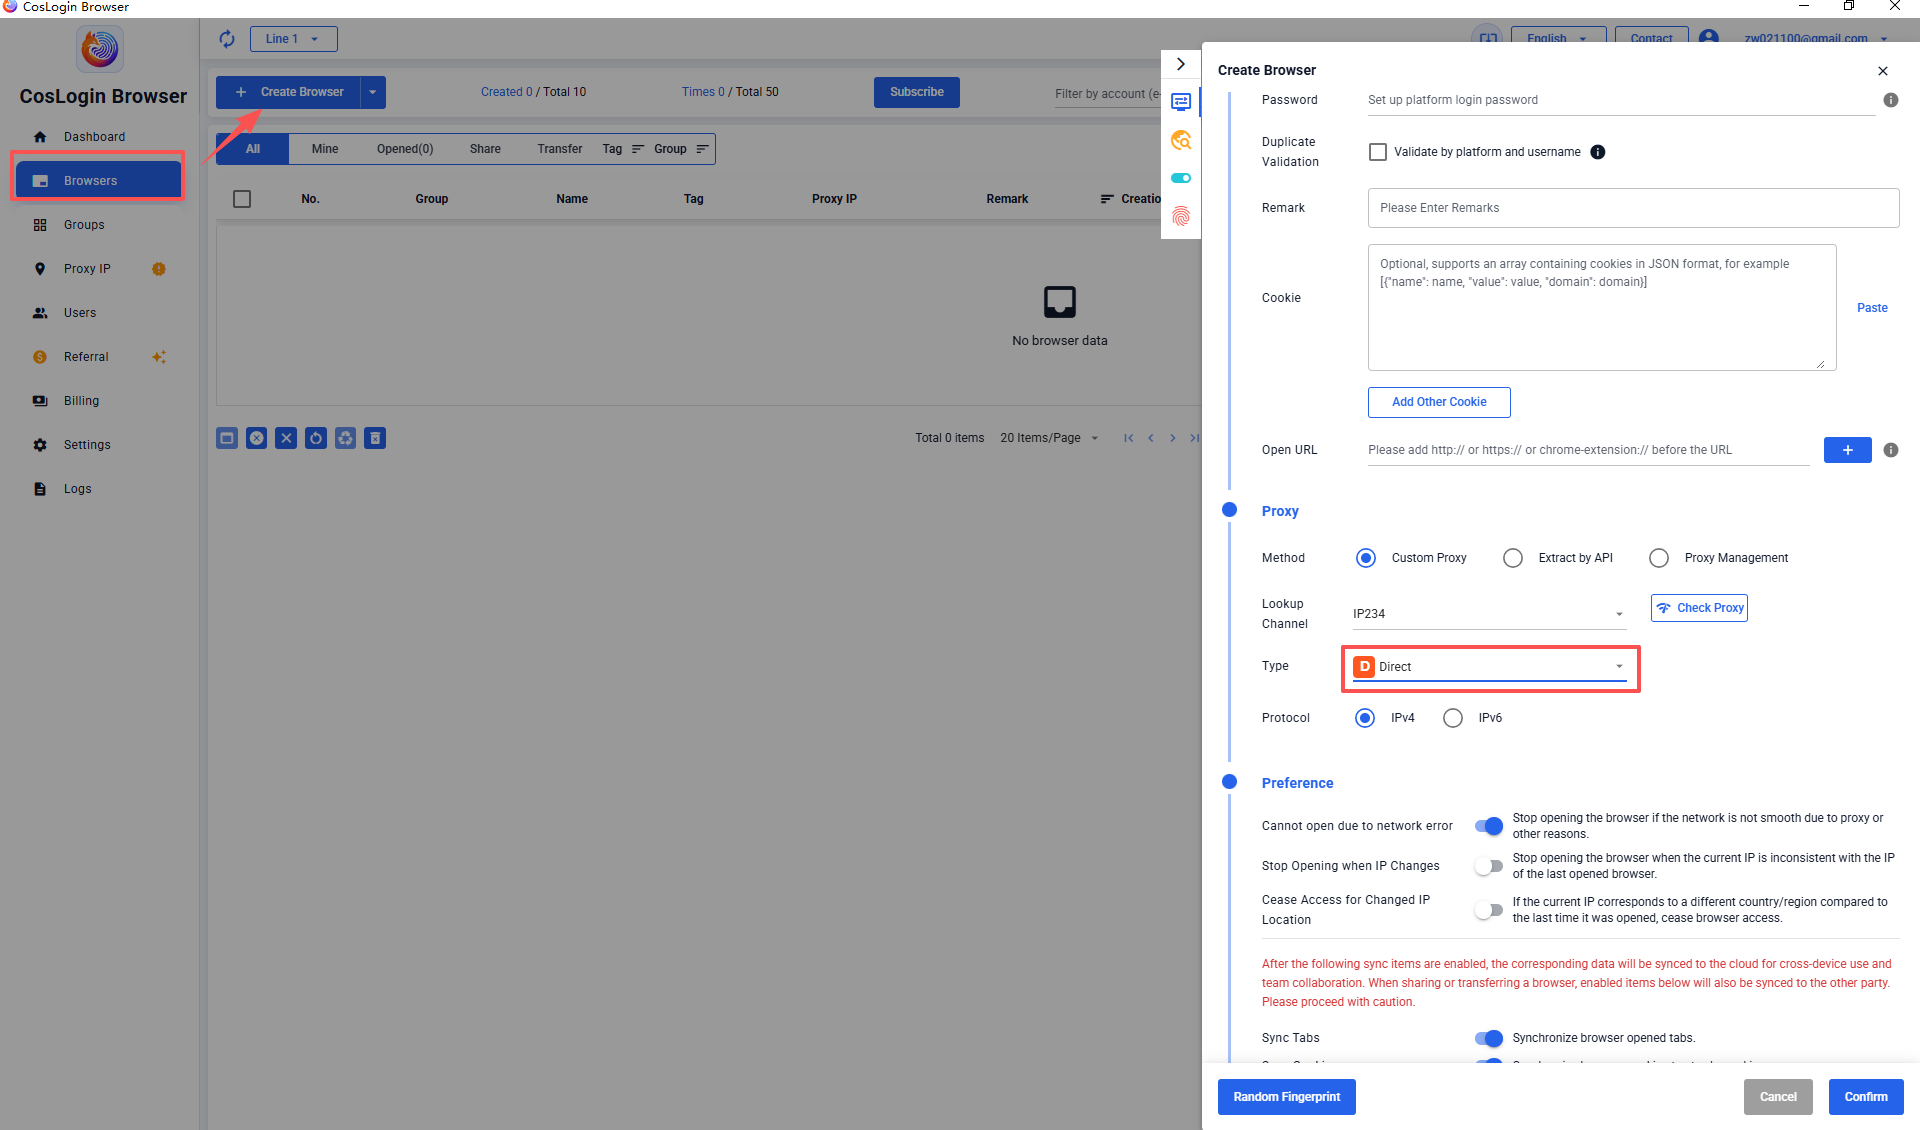
- Enter the static IP details purchased from Rolaproxy—Host:Port:Username:Password -> and click OK.
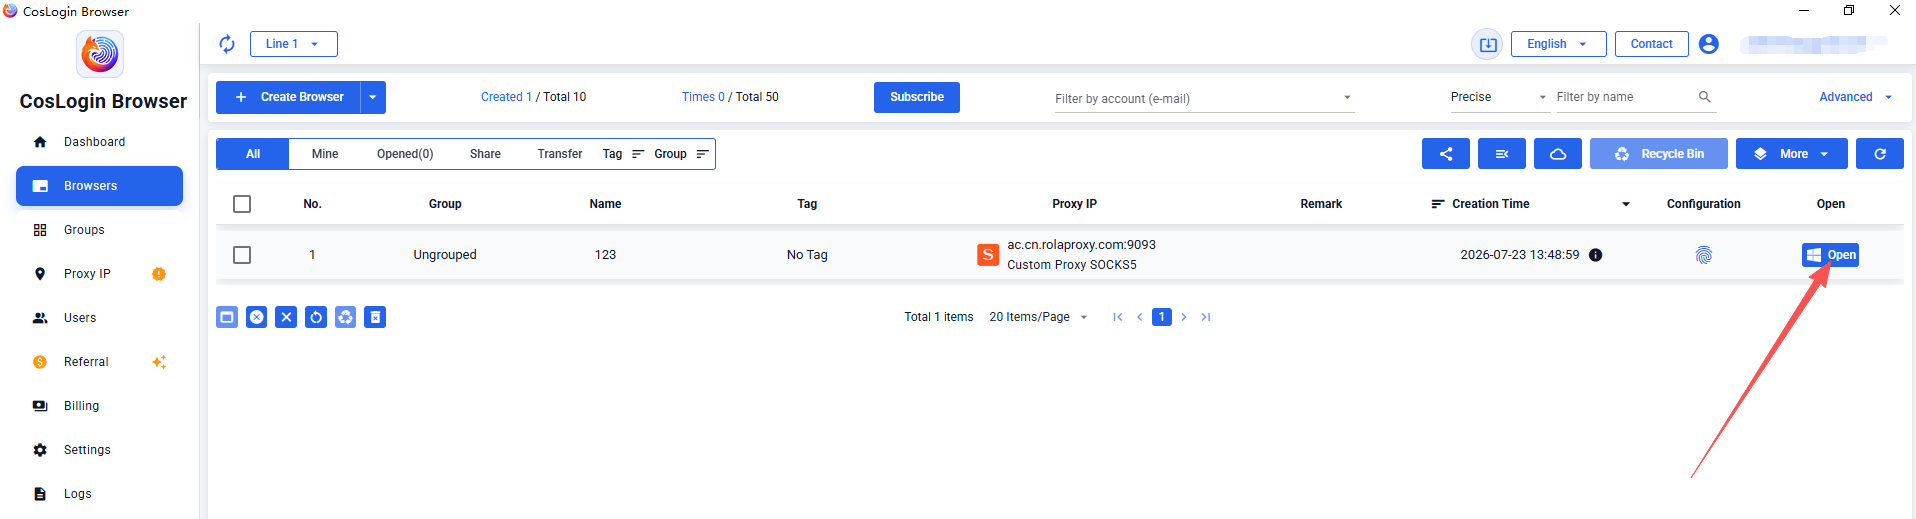
- The browser profile has been created; simply click to open it and start accessing websites using Rolaproxy!
Share article
Last modified: 2026-09-05
