
IPWeb
Step 1: Purchase an IPWeb Static Residential Proxy
First, register or log in to your IPWeb account.
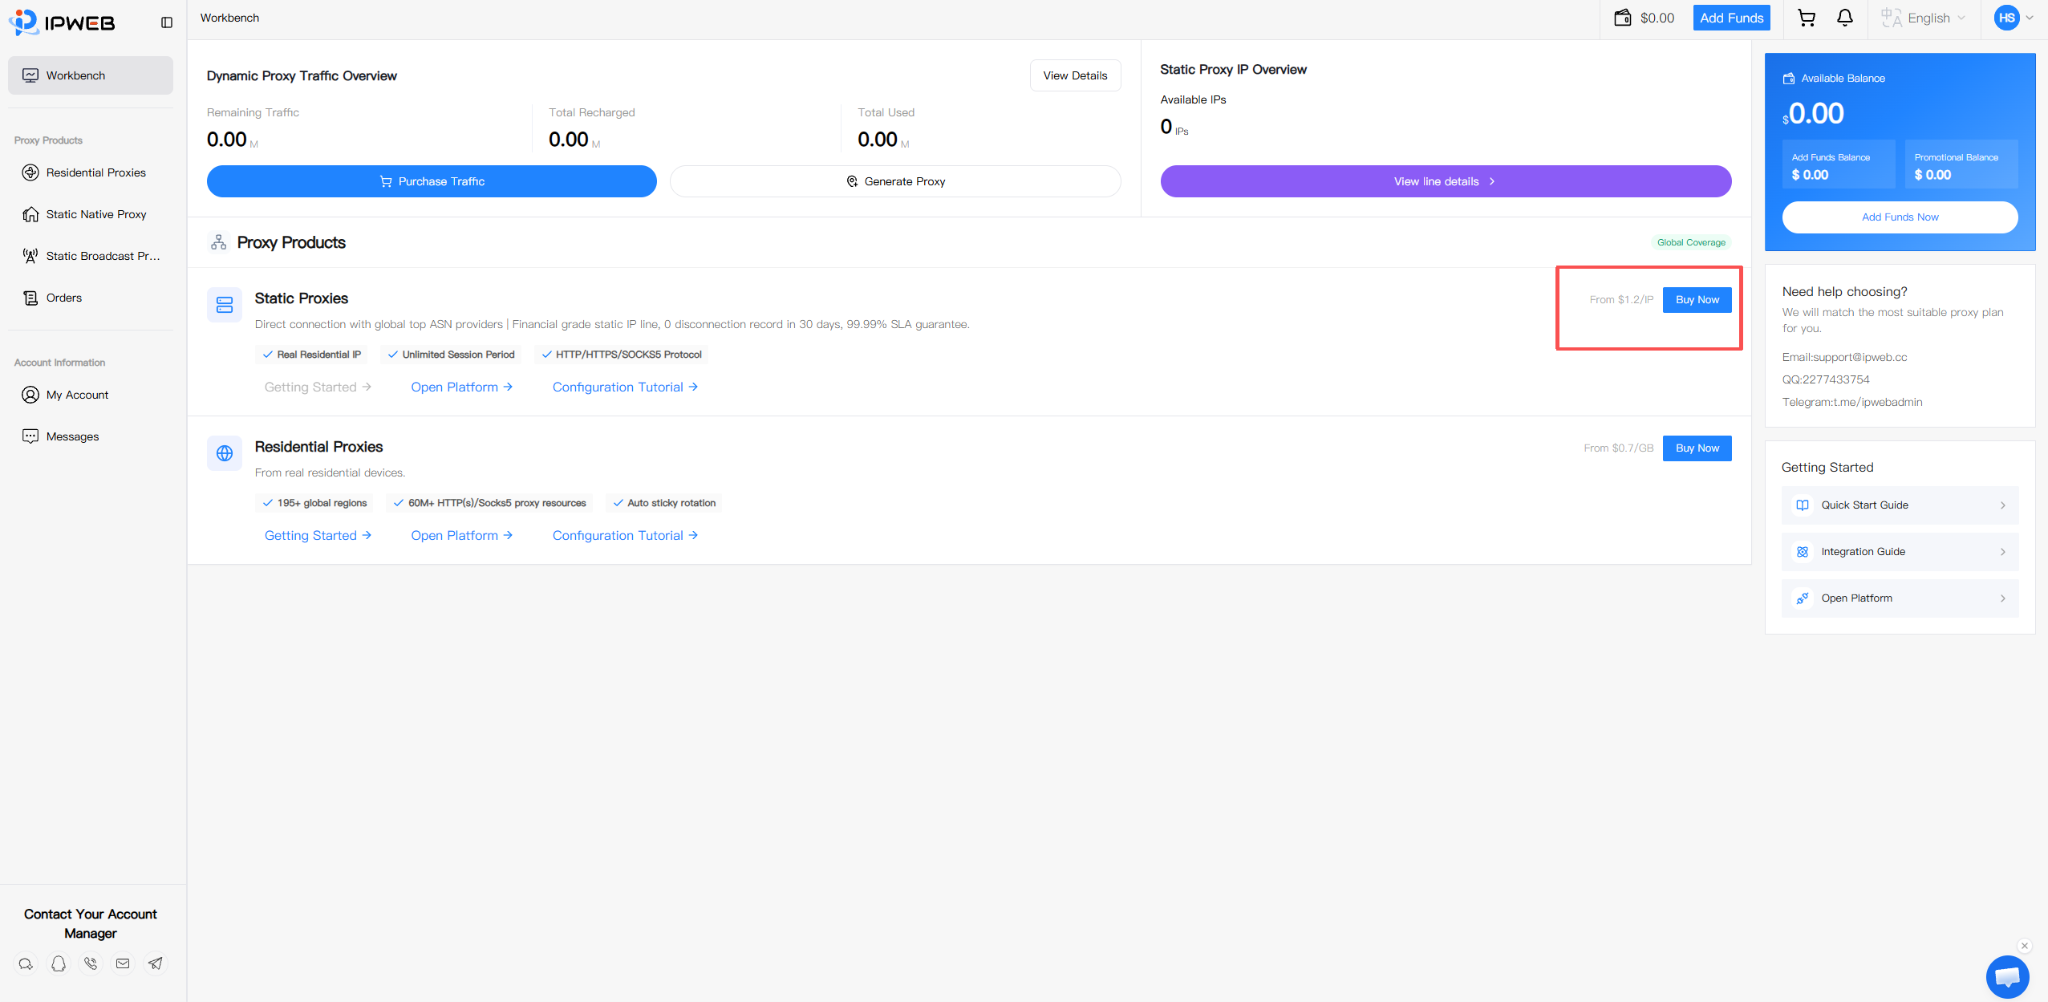
After entering the dashboard, locate Static Proxy in the proxy products section and click:
Buy Now
This will take you to the static proxy purchase page.
On the purchase page, select proxy resources according to your actual requirements.
The main purchase options include:
- Dedicated / Shared
- Country / Region
- IP subscription duration
- Number of IPs
After selecting a country or region, the order details will be displayed on the right side of the page. You can also view parameters such as bandwidth, concurrent connections, and UDP status.
After confirming the proxy type, location, subscription duration, and number of IPs, click:
Confirm Order
to complete the purchase.
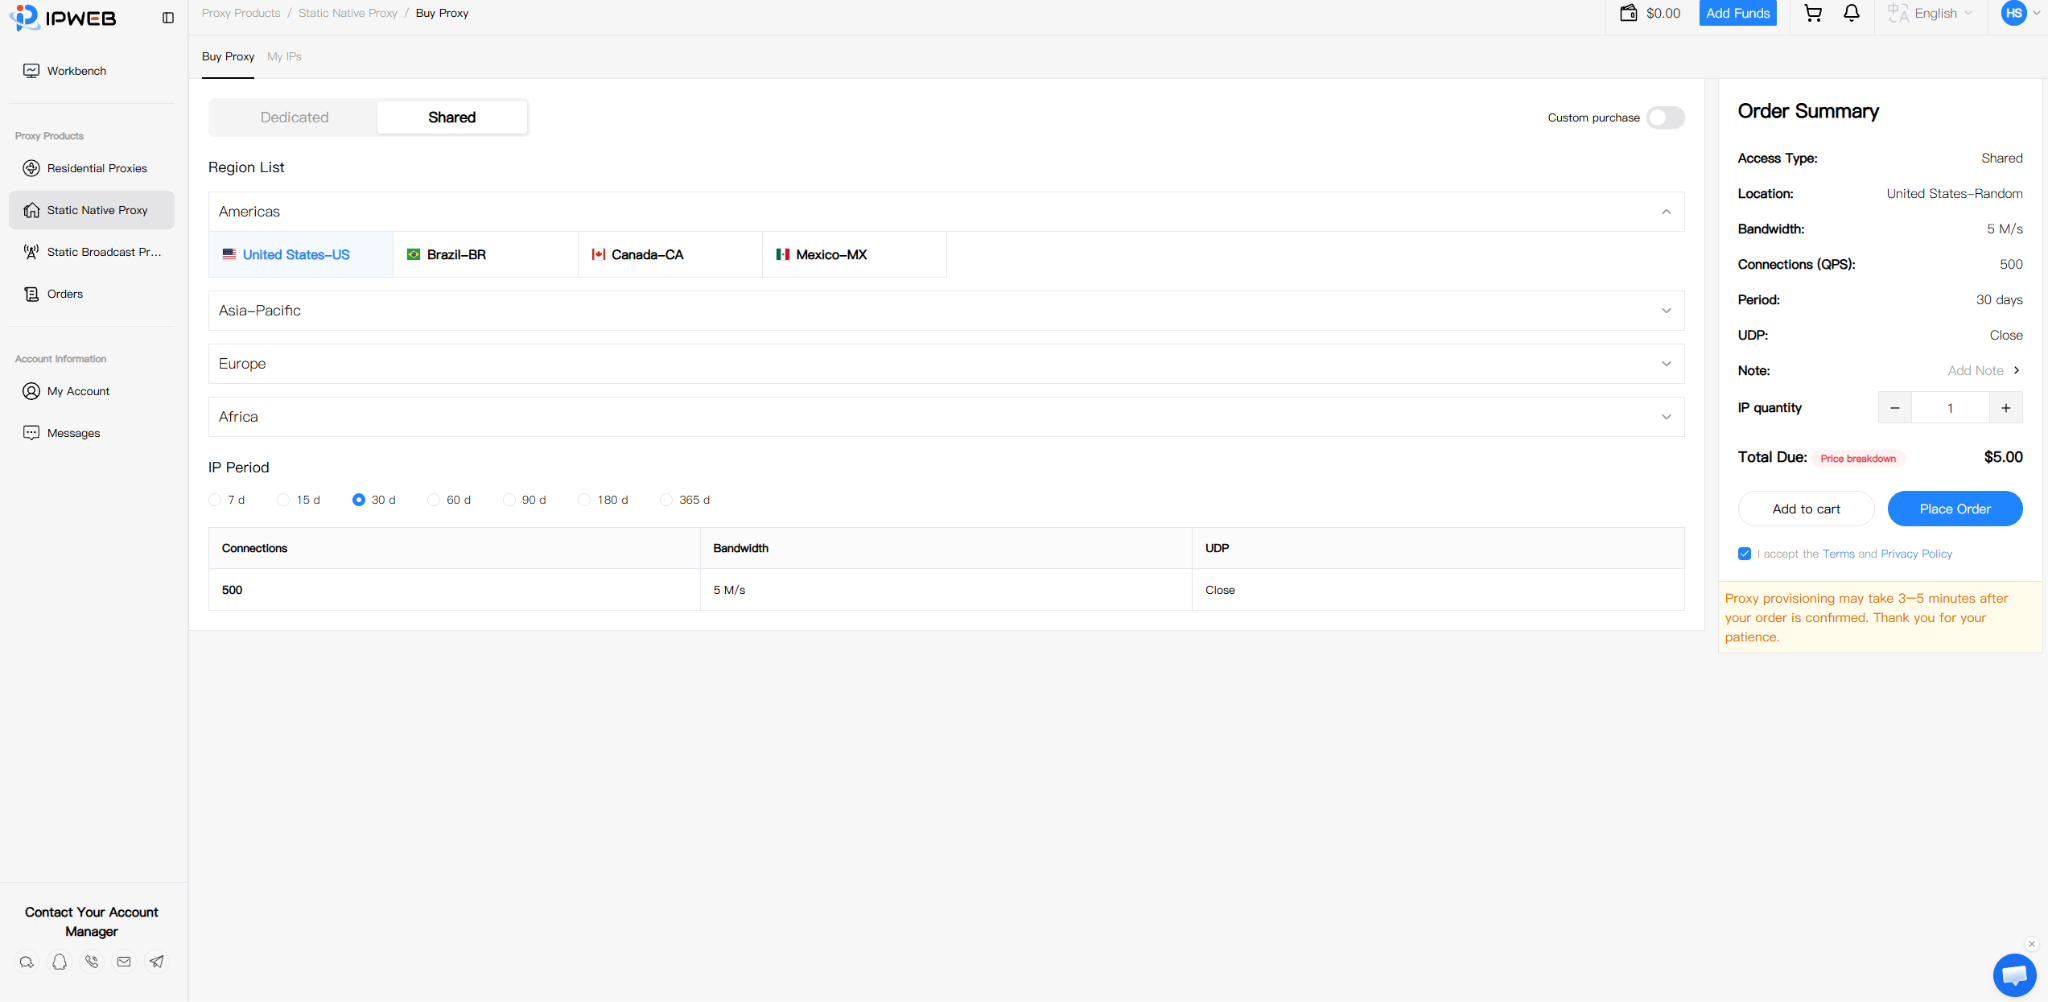
This guide uses an IPWeb static residential proxy for the demonstration. If this is your first time configuring IPWeb with CosLogin Antidetect Browser, you can start with a small number of IPs for connection testing and purchase more later based on actual usage.
Step 2: Obtain IPWeb Static Residential Proxy Information
After completing the purchase, go to:
Static Proxy → My IPs
Find the proxy line you just purchased and open its details.
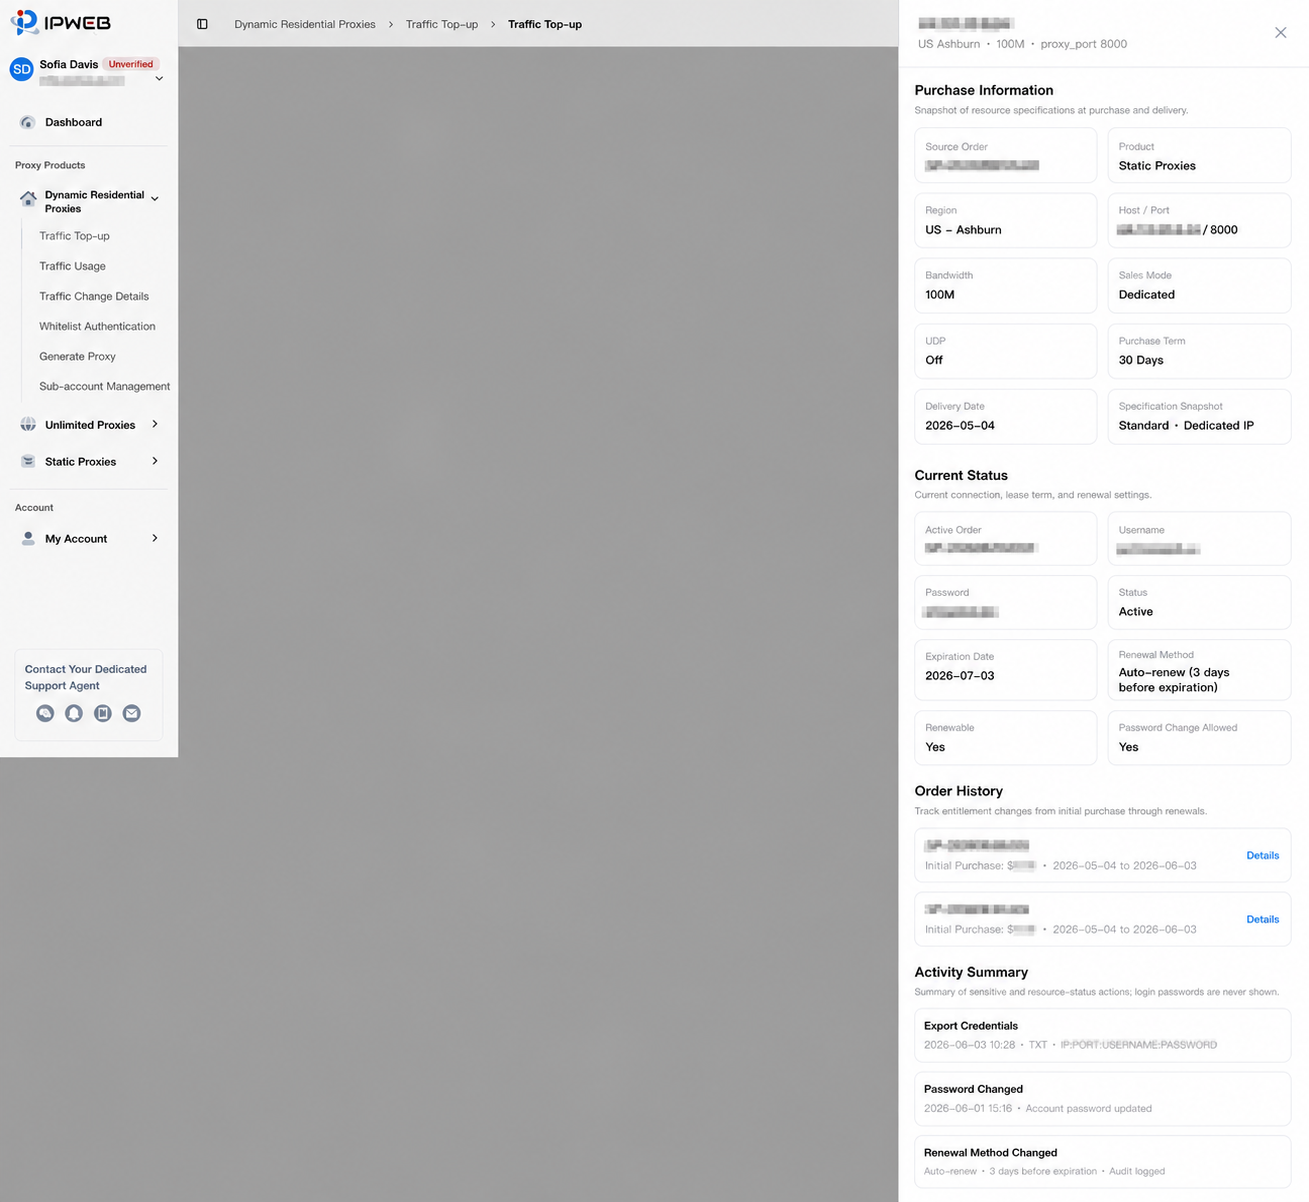
In the line details, you can find the information required for configuring CosLogin Antidetect Browser, including:
- Proxy host and port
- Proxy username
- Proxy password
You can also view information such as location, bandwidth, purchase period, line status, and expiration date.
When configuring CosLogin Antidetect Browser, the information you actually need is:
Proxy host + Port + Username + Password
It is recommended to copy this information directly from the IPWeb dashboard to avoid manual input errors.
Please note that the username and password shown here are authentication credentials for the proxy line, not the login credentials for your IPWeb account.
Once the proxy information is ready, open CosLogin Antidetect Browser.
Step 3: Install and Log In to CosLogin
- Download and install CosLogin Antidetect Browser, then sign up and log in to your account. Registration lets you get started for free.
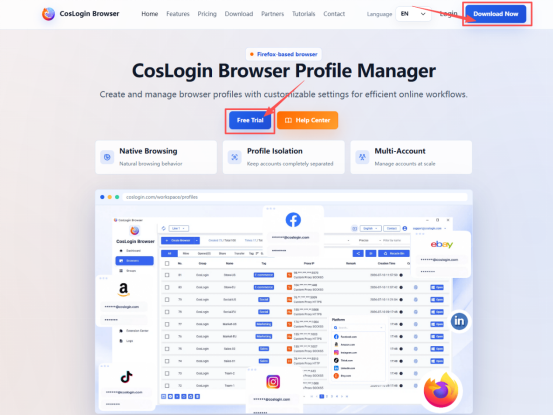
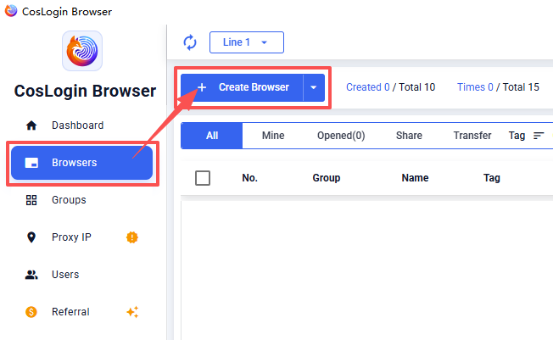
- After logging in, go to [Browsers] and click [Create Browser].
Step 4: Configure the IPWeb Proxy in CosLogin
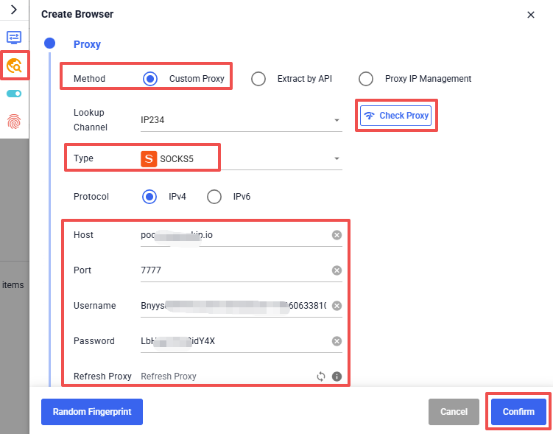
- In [Proxy Settings], select [Custom Proxy], then choose HTTP, HTTPS, or SOCKS5 according to the protocol shown in the IPWeb dashboard.
- Enter the proxy host, port, proxy username, and proxy password copied from IPWeb.
- Run the proxy check. After the connection passes, click [Confirm] to save the browser profile.
Step 5: Launch the Browser
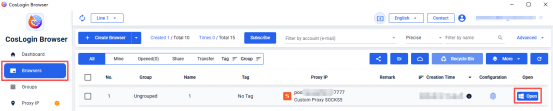
In the browser list, click [Open] to launch the profile and browse through the configured IPWeb static residential proxy.
After setup, verify that the browser profile's exit location matches the IPWeb proxy location you purchased. If the test fails, recheck the protocol, host, port, username, and password.